Listing Preparation
Kanata South Finished Basement Clean-Up Before Listing Photos: A Practical Plan for Recreation Rooms, Storage and Stairs
A practical guide for Kanata South sellers and real-estate agents preparing a finished basement for listing photos, with clear steps for furniture, storage, media areas and stairs.
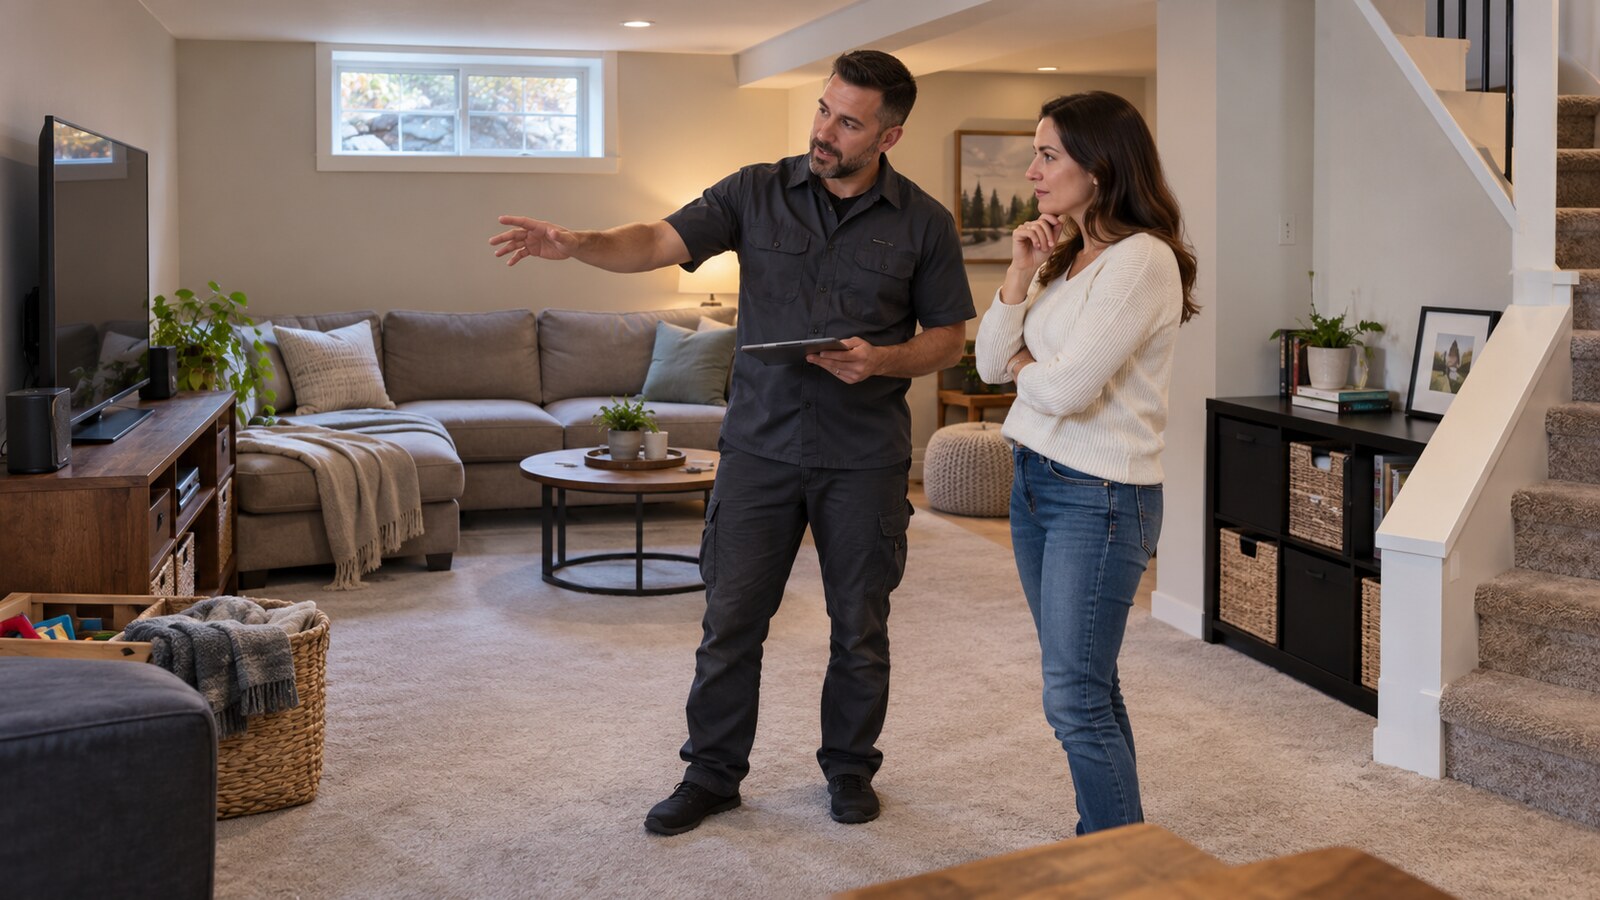
A finished basement often has to do several jobs at once. It may be a television room, play area, home office, guest space and storage zone. That flexibility is useful in daily life, but it can make the room look smaller or harder to understand in listing photos. For Kanata South sellers, the goal is not to empty the basement. It is to show a clear, usable room with an obvious path, balanced furniture and storage that does not pull attention away from the space.
A practical reset starts with the planned photographs. Ask the real-estate agent which parts of the basement will be shown, where the camera is likely to stand and which features need to remain visible. That information helps prevent wasted effort and keeps the clean-up focused on what buyers will actually see.
Define the room before moving anything
Decide on one main purpose for each visible area. A sectional facing a media console reads as a recreation room. A compact desk with a clear chair position reads as a work area. A small exercise corner can work if the equipment is orderly and does not block circulation. When several uses overlap without boundaries, photos can make the room look crowded even when there is enough floor area.
- Identify the primary purpose of each area that will appear in photos.
- Mark the route from the stairs to the main seating or activity zone.
- Keep windows, doors, heat registers and electrical panels visible and reachable.
- Choose which furniture supports the room's purpose and which pieces can leave temporarily.
- Set aside personal documents, medication, valuables and family photographs before outside help arrives.
Take reference photos from likely camera positions
Use a phone to take wide photos from the bottom of the stairs, each doorway and the far corners of the room. Review the images at normal size rather than zooming in. Large dark objects, loose cords, stacked bins and extra chairs often draw more attention in a photo than they do in person. Reference photos also reveal whether a lamp, plant or storage basket is interrupting the view of the floor line.
Make a short move, store, remove and leave list. The list is more useful than shifting items randomly. A piece that belongs elsewhere in the house should go directly there. Ordinary unwanted items should be grouped for an approved removal plan. Items that will return after the photographs should be labelled and stored outside the camera path rather than piled just beyond the frame.
Simplify the media wall and open shelving
Media consoles and open shelves collect small objects quickly. Start by unplugging only equipment the owner has approved for temporary removal. Coil loose cables, keep required remotes together and remove empty packaging, old manuals and unrelated household items. Do not disconnect mounted equipment or hide wiring inside walls. If a cable route or bracket needs repair, leave it for the appropriate technician.
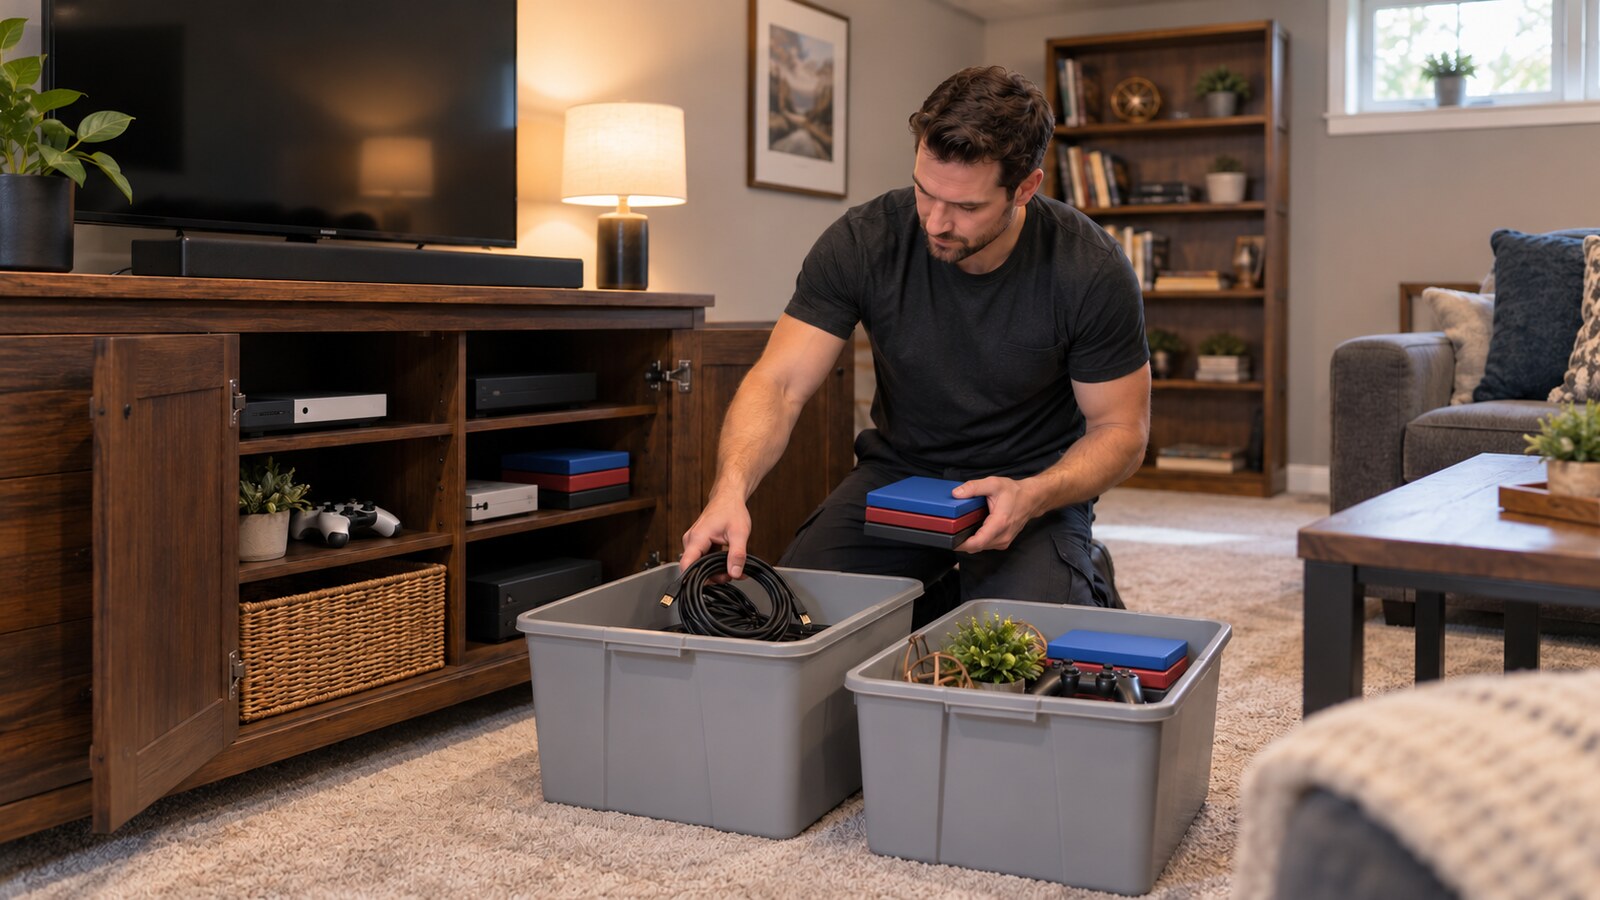
Open shelving usually looks best when it is edited rather than empty. Keep a small number of books, baskets or simple decor pieces with space around them. Mixed loose toys, craft supplies, game pieces and office papers can go into plain containers behind closed doors. Avoid packing shelves so tightly that they appear to be compensating for limited storage.
Use furniture to show scale, not to fill every wall
Keep enough furniture to explain the room while opening the main walkway. A sofa, one or two supporting seats and a modest table may be more readable than a complete collection of occasional chairs, ottomans and side tables. Leave comfortable space around door swings and at the foot of the stairs. Do not move oversized furniture alone or force it through a tight stairwell. Measure the route and plan enough help before any approved move.
Check the room from seated height as well as standing height. The back of a chair may block a fireplace, window or built-in feature from one angle. A tall floor lamp may divide the frame. Small adjustments can improve the photograph without creating an unnatural layout for the showing.
Keep closed storage believable
Listing photographs may not show the inside of every closet, but buyers can still open doors during a showing. Avoid moving all visible clutter into one storage room. Group similar items, use sturdy containers and keep a safe route to shutoffs or service equipment. Heavy bins belong low, and nothing should rest against a furnace, water heater, panel or other equipment that needs clearance. Mechanical concerns should be reviewed by the appropriate qualified professional.
Treat the staircase as part of the basement
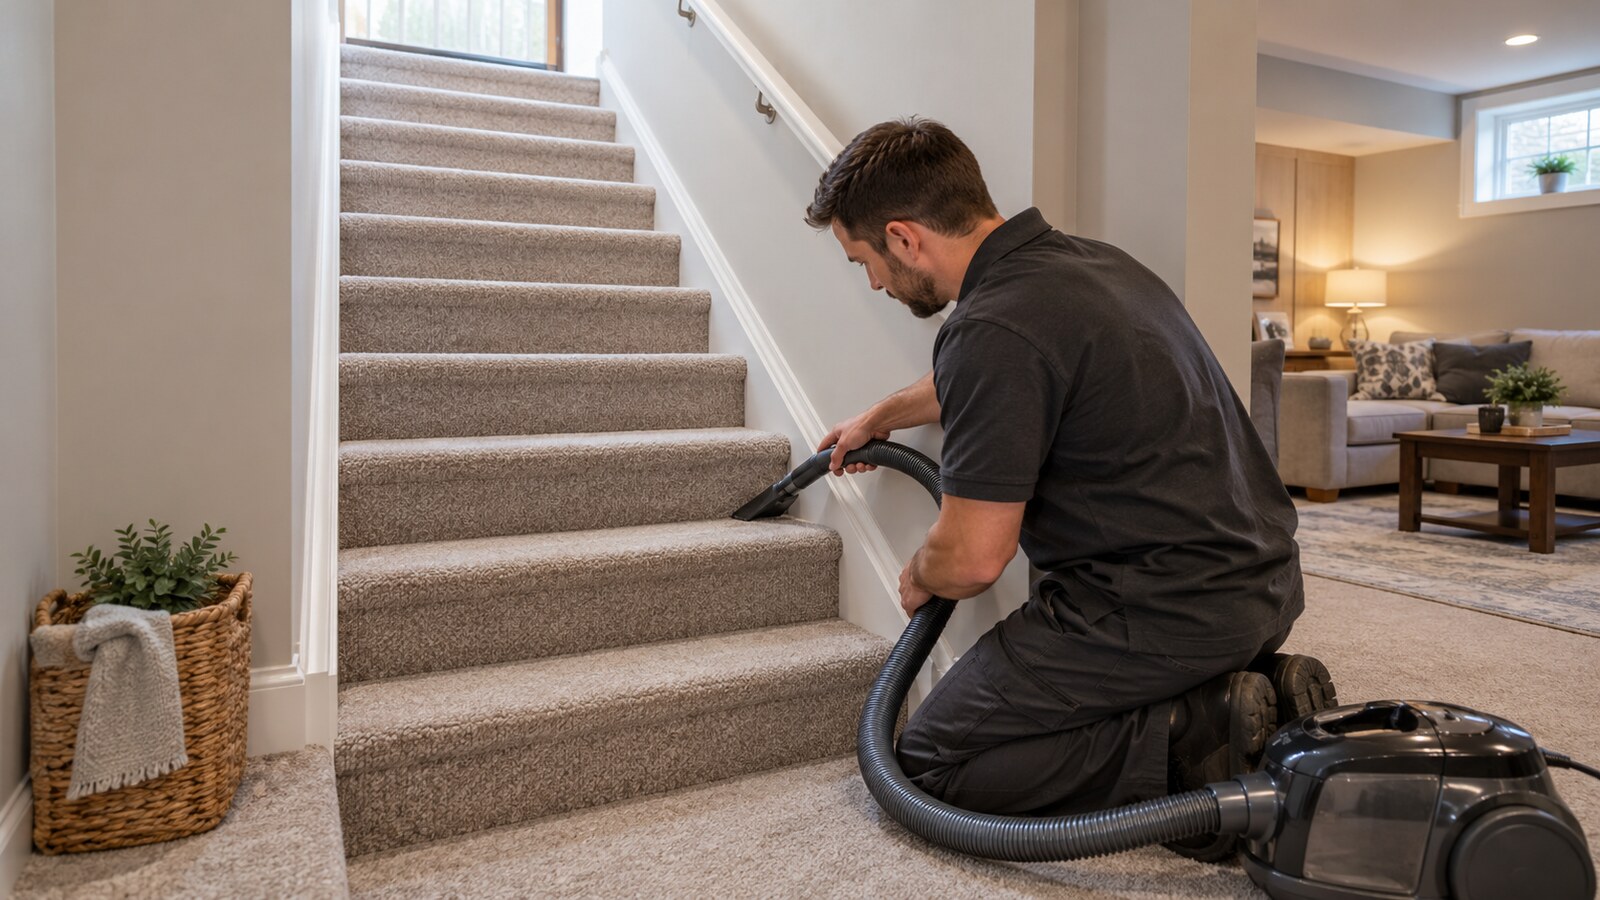
The stair approach is often the first view of the lower level. Remove loose baskets, shoes, cords and temporary storage from the landing. Vacuum accessible carpeted treads and floor edges, wipe suitable painted trim with a surface-appropriate method and check that the handrail is unobstructed. Cleaning should not be used to disguise loose carpet, damaged trim or a rail that needs repair. Record those concerns and arrange the proper follow-up.
Clean in an order that protects the finished result
Work from high surfaces to low ones and from the far side of the room toward the stairs. Dust accessible shelves, ledges and furniture first. Wipe approved hard surfaces using methods suited to the material. Vacuum floor edges, beneath movable lightweight pieces and the final exit route last. If a carpet has a persistent stain, odour or moisture concern, document it and discuss the right specialist rather than over-treating it immediately before the photographs.
Finished basements can contain different materials within a small area: painted drywall, laminate, carpet, wood furniture, electronics and fabric upholstery. One cleaner or technique is not appropriate for every surface. Test products discreetly, control moisture and keep liquids away from outlets and electronics.
Complete a photo-day walkthrough
- Open approved blinds or curtains and turn on working room lights.
- Remove cleaning tools, empty boxes and filled removal bags from the frame.
- Straighten cushions, rugs and lightweight decor without covering vents or access points.
- Check reflective screens and glass for fingerprints and distracting reflections.
- Confirm that the stairs, landing and main route are clear.
- Repeat the reference photos and make only small final adjustments.
What to send for a Kanata South listing-preparation quote
Send wide photos of the finished basement, stair route, storage areas and any furniture that may need approved movement. Include the floor materials, access instructions, parking considerations, items to stay, ordinary items to remove, the photography deadline and whether the home will be occupied during the work. Mention any known moisture, damage, pest or hazardous-material concern because those conditions may require a different provider or a separate scope.
A successful basement reset does not make the room look unused. It gives each visible area a clear purpose, removes distractions and keeps storage and access practical for the showing. With the camera positions, moving plan and final walkthrough agreed in advance, sellers and agents can prepare the space without turning the last day before photography into a rushed whole-house cleanout.
Photos are illustrative examples of typical residential service results.