Junk Removal
Ottawa Bookshelf and Cabinet Removal: A Practical Guide to Anchors, Glass and Stairs
A practical Ottawa guide to preparing freestanding bookshelves and cabinets for removal, including ownership, anchors, glass, measurements, stairs and condo access.
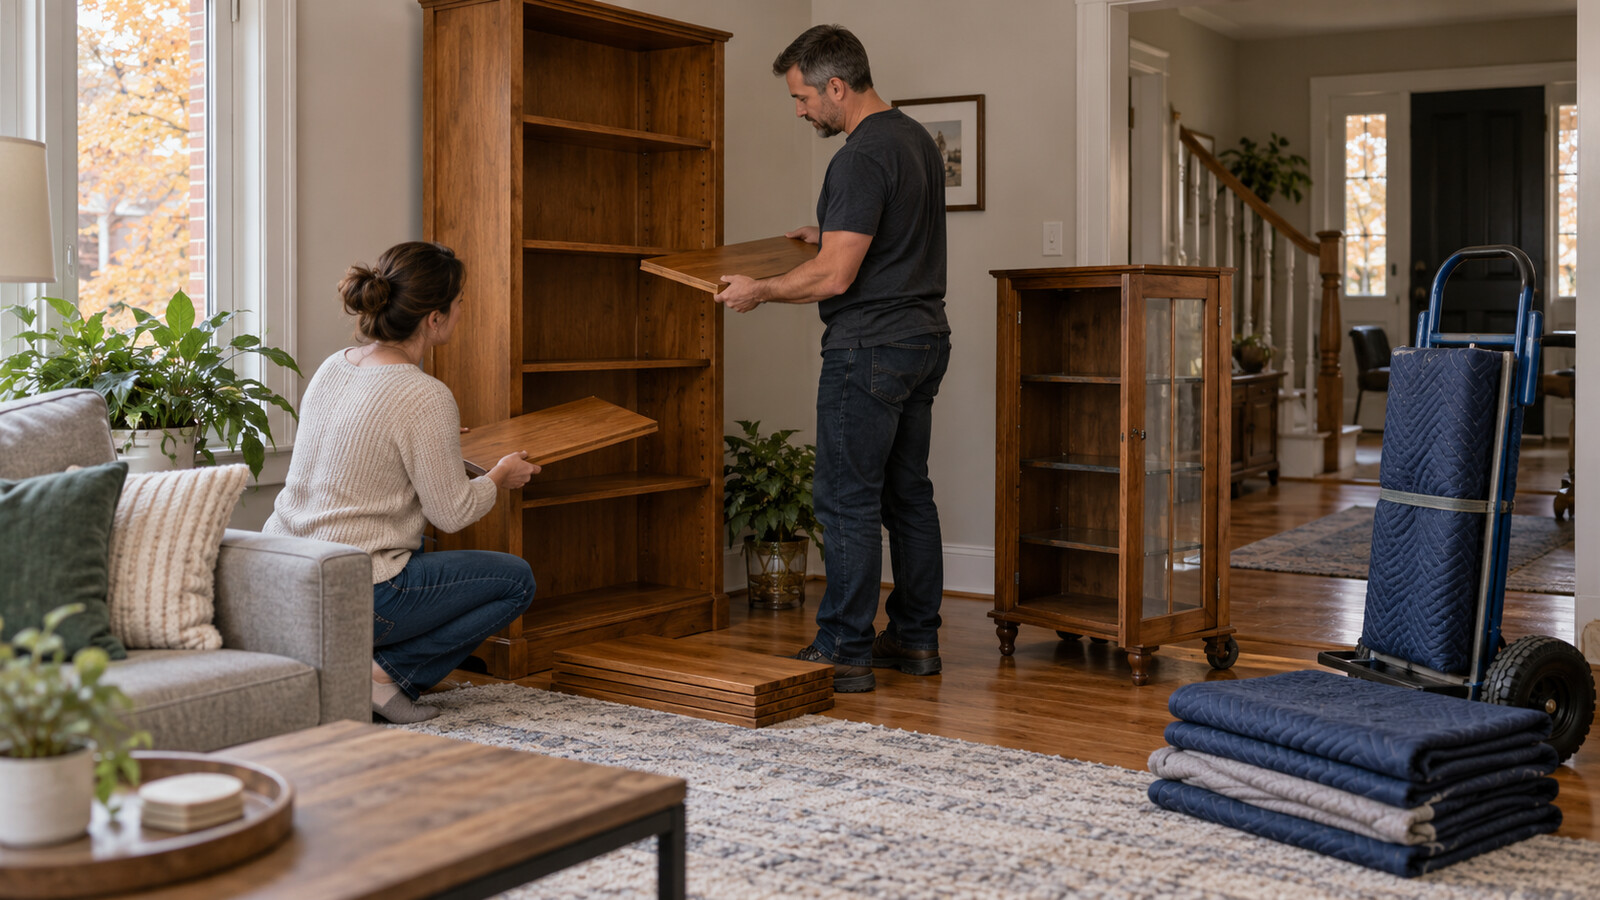
A bookshelf or cabinet can look simple to remove until the shelves come out, the doors swing open or an anti-tip bracket appears behind it. The piece may be taller than the doorway, wider than a stair turn or heavier at one end because of glass, drawers or solid wood. In a condo or rental property, building access and ownership approval also matter.
Good preparation reduces damage and last-minute delays. The aim is to confirm what the item is, empty it completely, identify every attachment, protect loose parts and measure the full route before anyone lifts. This guide covers ordinary freestanding household furniture, not built-in cabinetry, construction demolition or hazardous materials.
Confirm ownership and the removal list
Start by confirming that the bookshelf, display cabinet, hutch or storage unit is approved for removal. A homeowner should check that another family member has not claimed it. During a tenant turnover, the property manager or landlord should confirm whether the item belongs to the tenant, the owner or the unit. A removal crew should not decide ownership based only on where furniture was left.
Separate freestanding furniture from built-ins
A freestanding bookshelf may still be secured with a small anti-tip strap or bracket, but it is designed as a movable piece. A built-in may be fastened through side panels, trim, a toe kick or the wall, and removing it can expose unfinished surfaces or require repairs. A cabinet connected to plumbing, wiring, lighting or a countertop is not ordinary furniture removal.
Do not pry trim, cut fasteners or pull on a unit to discover how it is attached. If the construction is unclear, stop and have the item assessed by the appropriate qualified professional. Confirming the scope before the appointment prevents a simple hauling request from turning into unplanned demolition.
Empty every shelf, drawer and compartment
Remove books, dishes, electronics, decor, paperwork and loose hardware before the furniture moves. Check the back corners and the space beneath drawers. Even a few books add significant weight, and a forgotten object can shift, break glass or fall through an open door while the piece is tilted.
Sort contents into keep, donate and approved removal groups away from the work route. Important documents, medication, keys, photographs and valuables should be handled by the owner rather than placed in a general clean-out pile. If the shelves contain chemicals, ammunition, sharps, pests, mould or an unknown substance, disclose that condition and arrange the appropriate service instead of mixing it with ordinary household items.
Check anti-tip anchors and wall attachments
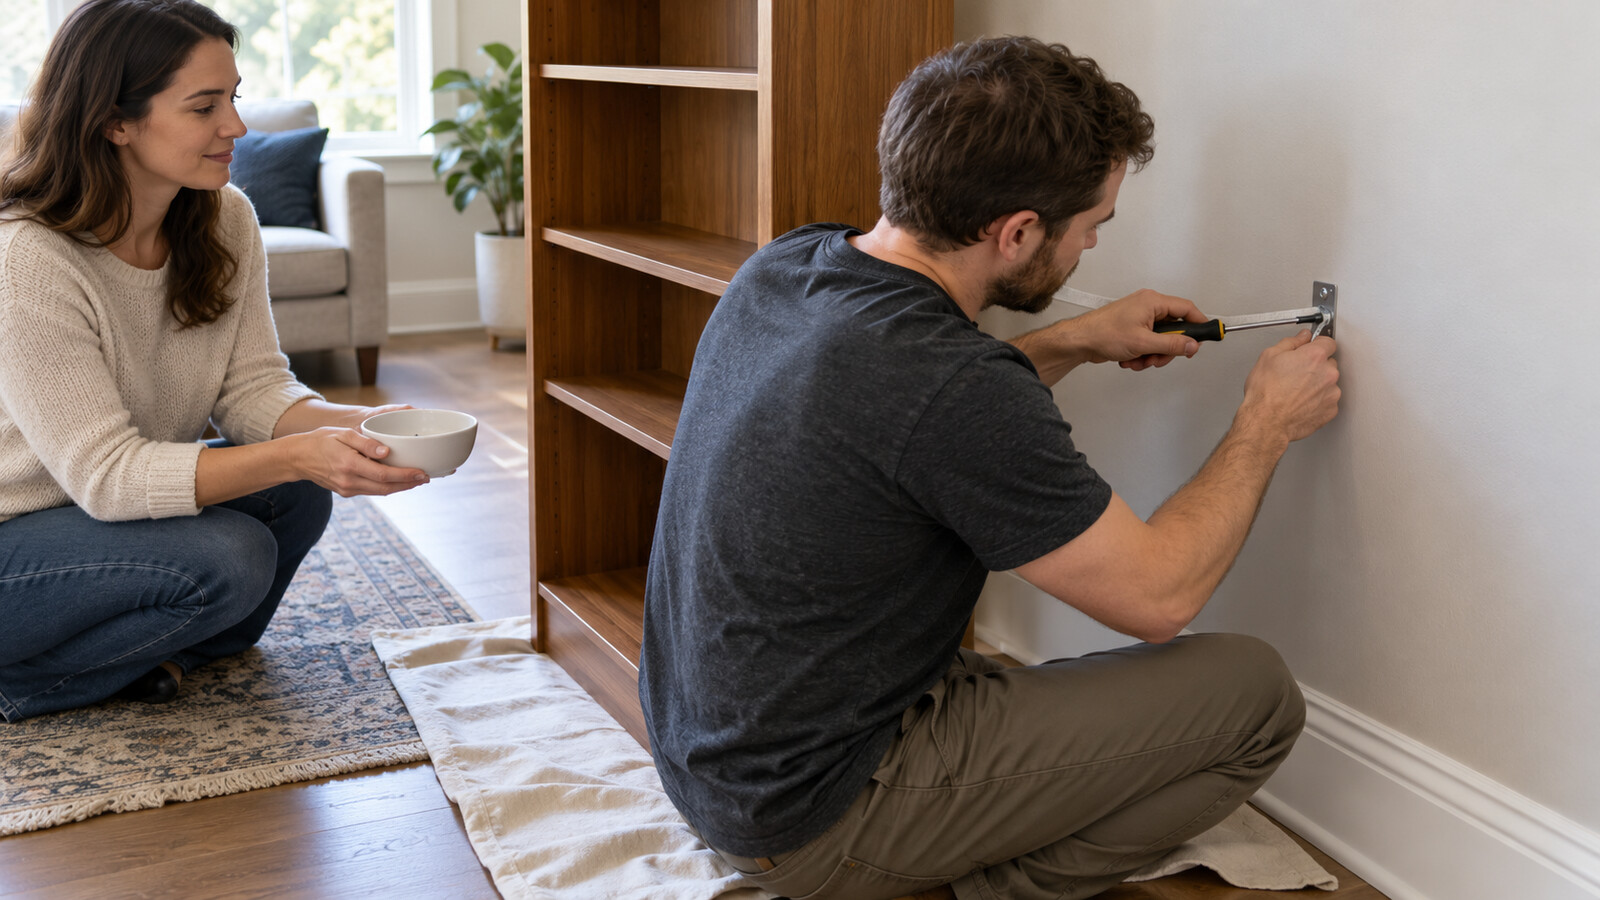
Look behind and above the furniture for straps, brackets or screws. Confirm that the item is stable before releasing anything. Tall units can tip when a restraint is removed, especially if doors or drawers are open or the floor is uneven. Keep children and pets out of the room and have a second capable person support the piece when the method requires it.
Only remove hardware when ownership and scope are clear and the attachment can be accessed safely. Avoid drilling or cutting into a wall when hidden electrical, plumbing or other services may be present. After an approved bracket is released, collect the fasteners in a small container and document any visible wall holes for the owner or property manager. Wall repair is a separate task unless it is specifically included.
Remove loose shelves, drawers and doors
Adjustable shelves should normally come out before the cabinet is tilted. Wrap wooden shelves to protect their edges and keep shelf pins together. Remove drawers that can slide free, then secure any remaining doors or drawers so they cannot open unexpectedly. Do not rely on a person holding a door closed while carrying the unit.
Some doors are easily removable; others use concealed hinges that need careful adjustment. Do not force a hinge or remove a component if doing so could damage the item or leave sharp hardware exposed. If the piece is being reused, photograph the hardware layout and keep paired parts together so reassembly is straightforward.
Treat glass as a separate part of the job
Glass shelves, panels and doors can shift even when they appear fixed. Confirm which parts are removable, lift them with clean dry hands or suitable gloves, and protect each piece individually with appropriate padding. Store wrapped glass on a stable padded surface where it cannot be stepped on, leaned against a busy doorway or mistaken for waste.
Report chips, cracks, loose panes or broken glass before the appointment. Do not place broken glass in a regular bag or hide it inside the cabinet. A damaged glass-front unit may need a different handling plan, and disposal requirements can differ from those for ordinary intact furniture.
Measure the furniture and the complete route
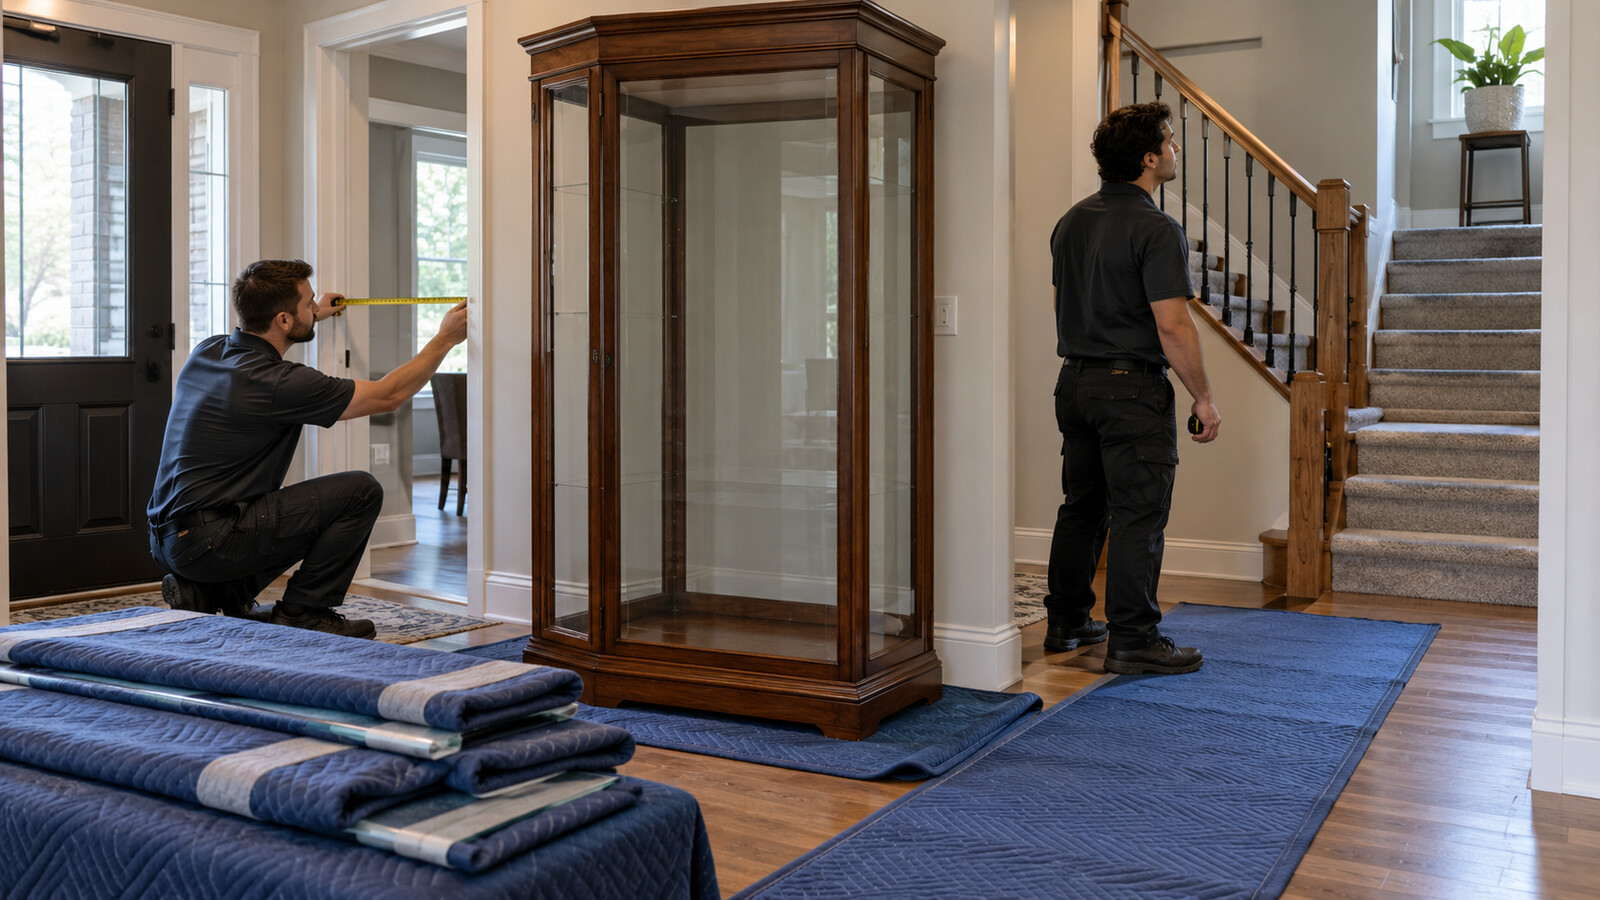
Measure the width, depth and height of the cabinet after removable parts are taken off. Include projecting trim, feet, handles and hinges. Then measure the usable width and height of every doorway, hallway turn, stair landing and final exit. Check the diagonal clearance if the piece must rotate, but do not assume an angle will work without a controlled plan.
Walk the route from the furniture to the vehicle or approved staging area. Remove mats, shoes, small tables, plants and other trip hazards. Check door swings, low light fixtures, railings and floor transitions. A doorway measurement is not enough if the next turn or landing is tighter.
Plan stairs and floor protection
Stairs change the weight distribution and reduce the room available to reposition a tall piece. Measure the stair width, ceiling clearance, railing projection and both landings. Keep the entire staircase unavailable to other household members while the move is active. If the item cannot be controlled safely through the turn, stop and use a qualified furniture mover or another appropriate method.
Use suitable protection for floors, thresholds and corners without creating a loose tripping layer. Moving blankets protect furniture but should not drag underfoot on stairs. A hand truck may help on a level route when it suits the load, yet it does not make every cabinet safe for one person or every staircase suitable for hauling.
Coordinate condo and apartment access
Confirm elevator bookings, loading access, protective-padding requirements and permitted work times before scheduling. Measure the elevator door and cab as well as the unit doorway. The resident or property manager should arrange keys, fobs and any required building approval and should keep corridors and fire exits clear.
Do not leave a cabinet in a lobby, garbage room, parking garage or shared hallway unless the building has approved that exact location and timing. Provide the distance from the unit to the elevator and from the elevator to the vehicle, including ramps or exterior steps. These details affect the equipment, labour and appointment window.
Decide the destination before removal day
A reusable bookshelf may be going to another room, a family member, a donation recipient or an approved reuse location. A damaged or unwanted unit may be included in an ordinary junk-removal load if its materials and condition fit the provider's scope. Confirm the destination rather than assuming that every item will be donated, recycled or accepted by the same facility.
Send useful details for a firm quote
Send a wide photo of each piece, close views of glass and visible attachments, measurements and photos of every tight turn or staircase. Include the floor level, elevator or loading arrangements, parking distance, deadline and whether the contents have already been cleared. State whether the furniture is freestanding, whether any anchor is visible and whether parts need to be kept for reuse.
Accurate photos help distinguish a straightforward empty bookshelf from a glass-front cabinet, built-in or unusually heavy solid-wood piece. Mention damage, loose components and access limits in advance. A firm scope is more useful than describing the job only as one cabinet.
Photos are illustrative examples of typical residential service results.