Pressure Washing
Pressure Washing Brick and Masonry Around an Ottawa Home: A Practical Surface-Safe Guide
A practical Ottawa guide to inspecting brick and mortar, protecting openings and landscaping, testing the surface, controlling runoff and avoiding overly aggressive cleaning.
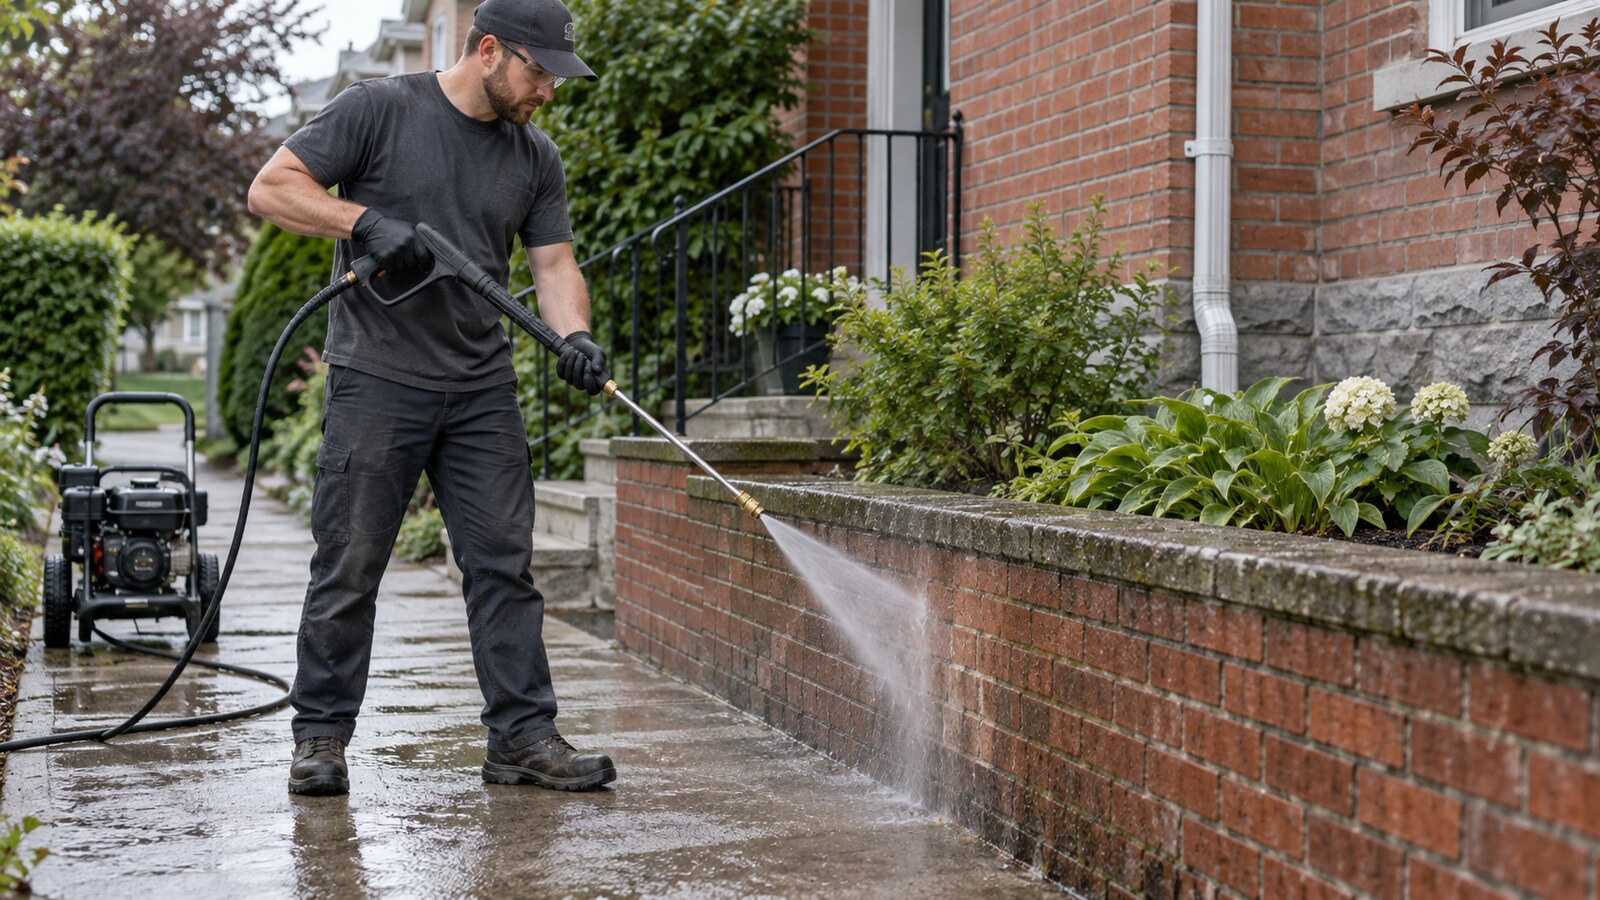
Brick and masonry can collect traffic film, soil splash, organic growth and dark runoff marks without looking severely neglected. Around Ottawa homes, the affected areas are often close to entrances, basement windows, garden beds, steps and shared walkways. That makes cleaning less about maximum pressure and more about controlling water, protecting nearby materials and treating the surface appropriately.
A careful plan matters because brick is only one part of the assembly. Mortar joints, window seals, metal fixtures, stone accents and landscaping may all react differently to pressure, moisture and cleaning products. The goal is a more even, well-kept surface—not a stripped finish or a wall forced to absorb water.
Start by identifying the masonry surface
“Masonry” can mean traditional clay brick, concrete brick, concrete block, natural stone, manufactured veneer or a combination of materials. A brick porch may also have poured-concrete landings, stone caps and painted metal railings. These materials do not necessarily tolerate the same pressure, nozzle distance or cleaner.
Before work begins, note where the material changes. Pay particular attention to corners, foundation transitions, patched joints and areas around doors or windows. If a surface has been painted, sealed or coated, cleaning may expose loose sections. That is different from cleaning bare masonry and should be assessed before water is applied.
Inspect brick, mortar and adjacent materials
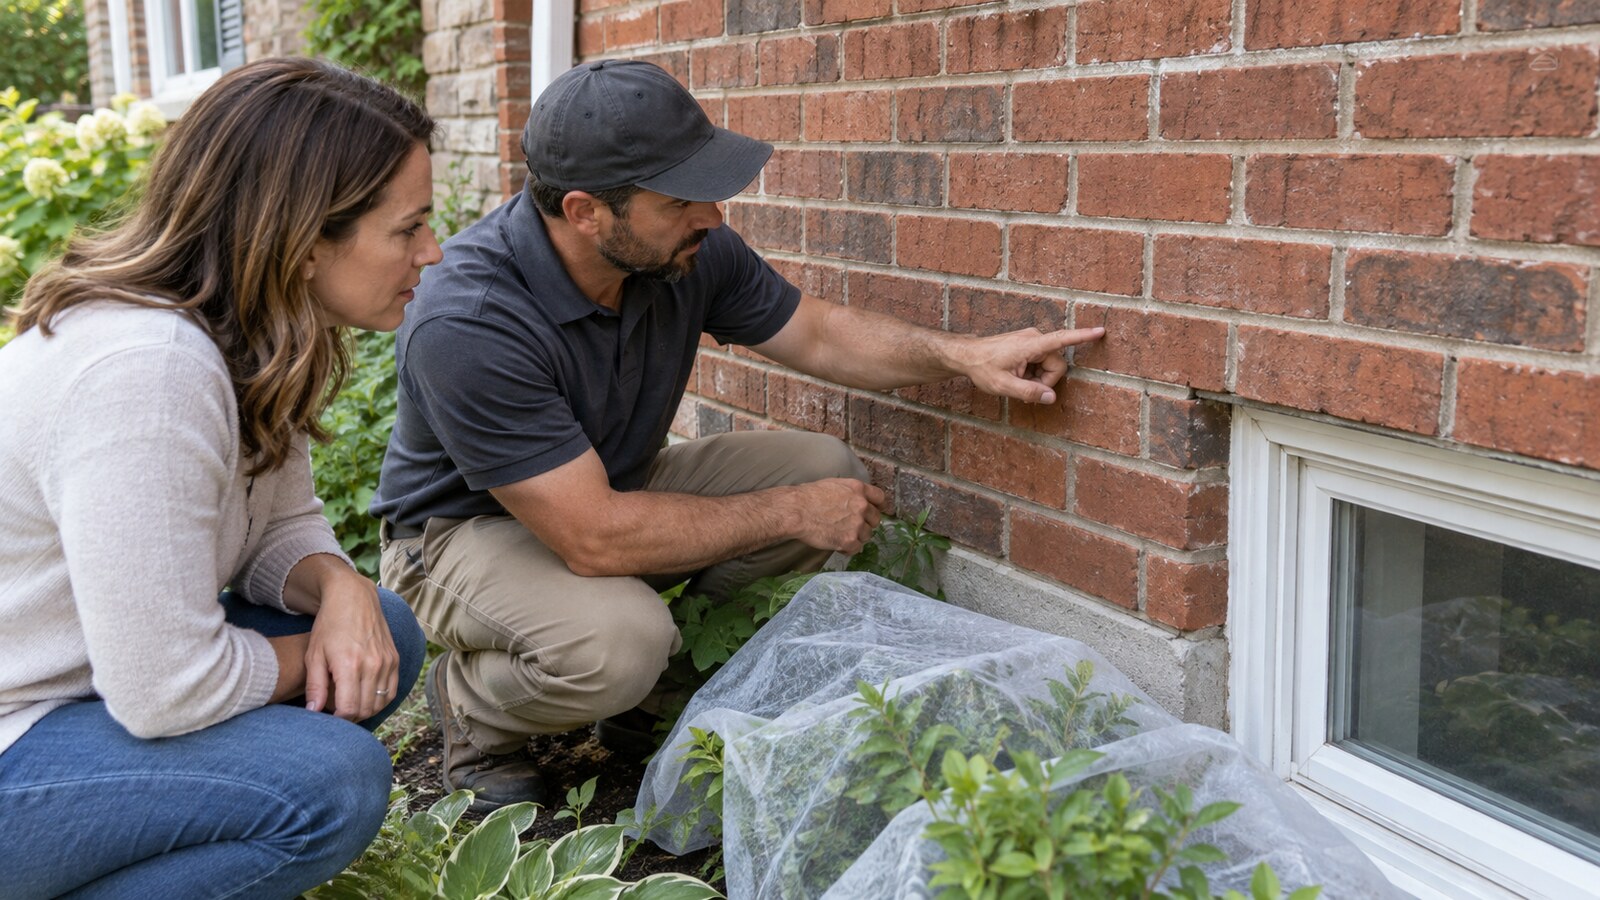
Mortar condition is just as important as the face of the brick. Crumbling joints, open cracks, loose units, flaking faces and previous repairs are warning signs. Strong spray can enlarge an existing defect or push water into an opening. A damaged area may need a mason or another qualified specialist before exterior cleaning makes sense.
Also inspect nearby window wells, vents, electrical fixtures, door thresholds, downspouts and garden beds. Photographing these areas before the appointment makes it easier to define the work and flag anything that needs special protection or exclusion.
Set realistic expectations for stains and surface age
General soil and some organic buildup often respond to a controlled cleaning process. Other marks may not. White mineral deposits, rust, paint, deeply absorbed oils and staining caused by ongoing drainage problems can require a different treatment. Pressure alone is not a universal answer, and chasing a stubborn mark with a narrow spray can damage the surface while leaving the underlying cause unchanged.
Older brick can also have natural colour variation and weathering that remains after cleaning. A practical test area helps distinguish removable buildup from the character or condition of the material. It also gives the owner or property manager a reasonable idea of the likely result before the full area is addressed.
Protect openings, fixtures and landscaping
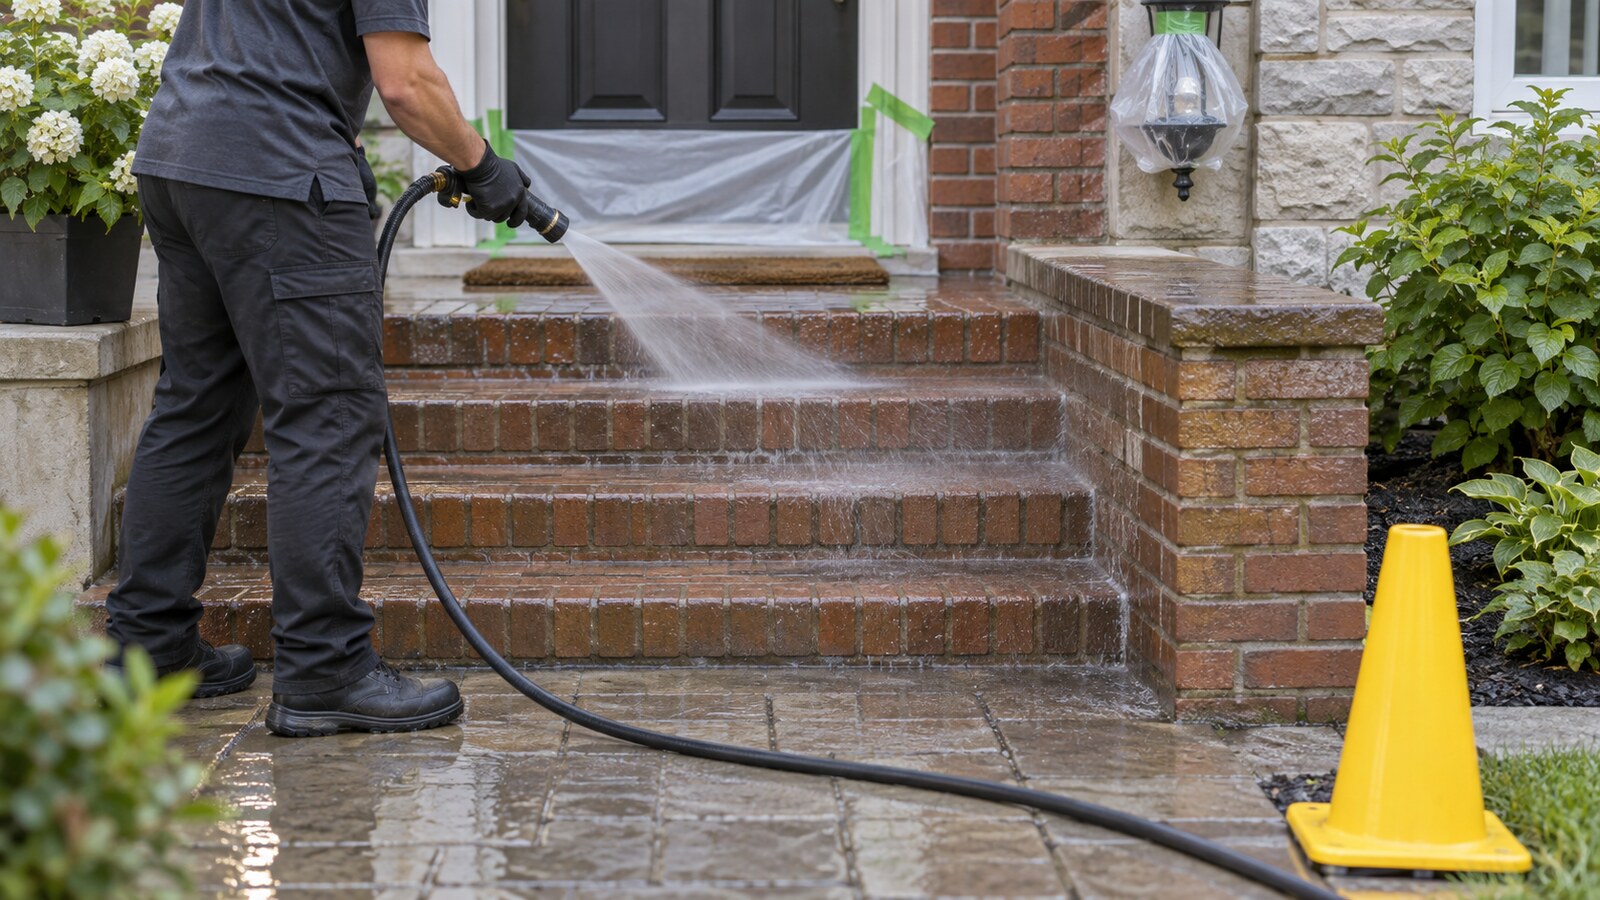
Preparation should focus on where water could travel. Close windows and doors, check weatherstripping, and avoid deliberately spraying into vents, gaps, weep openings or the edges of window and door frames. Delicate light fixtures, door hardware and outlets may need protection appropriate to the work area. Loose mats, planters and small furniture should be moved out of the spray path.
Plants beside a brick wall or porch deserve attention too. The right approach depends on the cleaning method and any product being used. Keep hoses and equipment from crushing garden beds, follow product directions, and use temporary covers only for the time needed so heat and moisture are not trapped around plants. Downhill surfaces and neighbouring property should be considered when planning runoff.
Use the least aggressive effective method
A test patch in an inconspicuous area should come before broad cleaning. Start with an appropriate wide spray pattern, sensible distance and controlled passes. The operator can then adjust gradually based on how the surface and joints respond. A close, concentrated jet is rarely the right first move for brick.
Consistent technique matters. Holding the nozzle at a similar distance and working methodically reduces streaks and obvious stop-start marks. Spray should be directed so dirty water moves toward a planned collection or drainage area rather than into an entry, garden bed or neighbouring surface.
If a cleaner is appropriate, it should be compatible with the masonry and surrounding materials, used according to its label and tested first. Household chemicals should not be casually mixed. More product or a longer dwell time is not automatically better.
Work in manageable sections
Brick walls and masonry features are easier to control when divided into logical sections. On a porch, that might mean one cheek wall, the steps and then the landing. On a low garden wall, it may be one short run at a time. This keeps the cleaning pattern consistent and makes it easier to monitor runoff, overspray and changes in the mortar.
Starting high and working down can make sense for many vertical areas, but the exact sequence should account for entrances, windows, garden beds and safe footing. Wet brick and adjacent pavers can become slippery. Access routes should remain clear, hoses should be managed, and people should be kept out of the active work zone.
Let the masonry dry before judging the result
Wet masonry looks darker and can hide colour variation. A surface may also dry unevenly where joints, shade or thicker units hold moisture longer. Evaluate the work after the area has had time to dry instead of making aggressive touch-up passes while everything is still wet.
If the purpose of cleaning is to prepare for repairs, coating or sealing, the next contractor should decide when the surface is dry and ready for that product. Drying time varies with the material, exposure and conditions, so there is no useful one-size-fits-all waiting period.
A practical brick and masonry cleaning checklist
- Identify brick, block, stone, concrete, coatings and transition points.
- Check mortar joints, cracks, loose units, flaking faces and previous repairs.
- Note windows, doors, vents, fixtures, thresholds and drainage paths.
- Move small items and plan protection for plants and adjacent finishes.
- Use a test area before committing to the full surface.
- Choose a broad, controlled cleaning pattern and avoid concentrated pressure.
- Allow the surface to dry before deciding whether further treatment is appropriate.
When professional help is the practical choice
Professional help can be useful when the work is close to finished interiors, public walkways, shared entrances or delicate landscaping, or when the masonry includes several materials. It can also simplify equipment setup, controlled cleaning and cleanup for homeowners, real-estate agents and property managers working to a deadline.
Mattabo Property Care is fully insured for the services it provides. If the inspection shows loose masonry, significant mortar failure, active water entry, hazardous material or another issue outside ordinary exterior cleaning, the right next step may be repair or specialist advice rather than pressure washing.
Requesting a firm quote
Readers can send photos, their Ottawa address and deadline for a firm quote. Helpful photos include a straight-on view of the full area plus closer images of joints, stains, windows, doors, steps and access. Mention water access, parking limits, shared entrances and any timing constraints.
Same-day service is often available but is not guaranteed until Mattabo confirms the appointment. A quote request is not a confirmed booking. To discuss brick or masonry cleaning around an Ottawa property, [contact Mattabo Property Care](/contact) with the work area and desired timing.
Photos are illustrative examples of typical residential service results.