Seasonal Property Care
Ottawa Cold-Room Clean-Up Before Winter: A Practical Plan for Shelves, Stored Goods and Moisture Checks
A practical Ottawa guide to resetting a residential cold room before winter, with clear steps for shelves, stored goods, floor edges, ventilation access and condition notes.
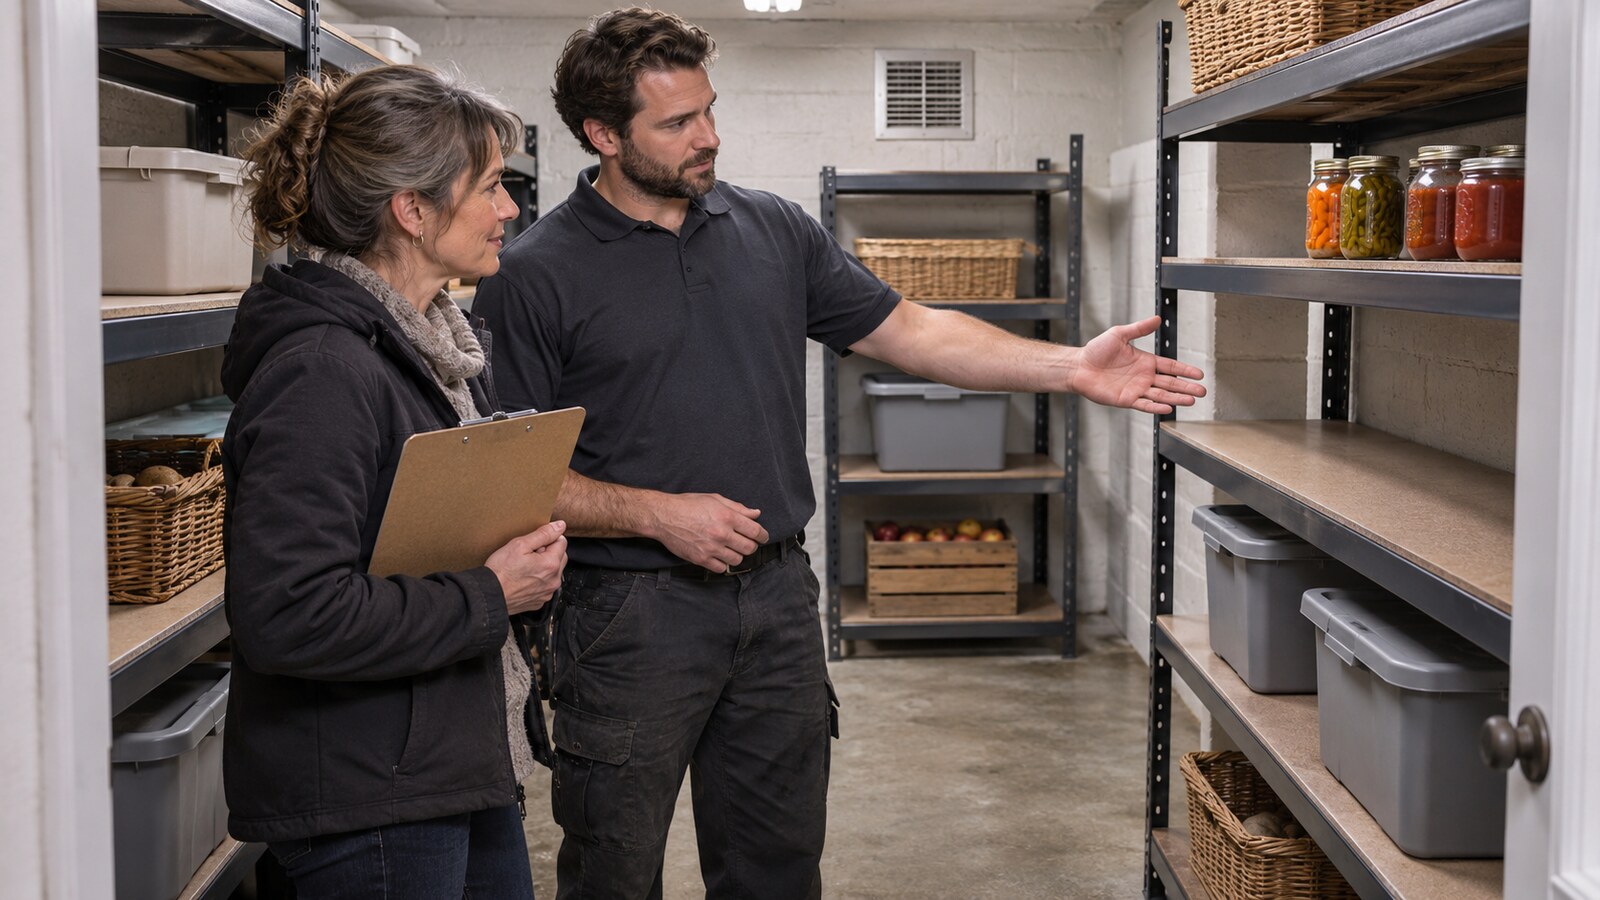
A residential cold room, sometimes called a cantina, can be useful storage in an Ottawa home. It can also become difficult to manage when empty containers, seasonal supplies, jars, baskets and household overflow collect around the shelves. Because the room is compact and cooler than the finished basement, a small amount of clutter can block floor edges, ventilation openings and the route to the back wall.
A practical pre-winter clean-up should make the room easier to inspect and use without pretending that organization can solve a building problem. The goal is a clear aisle, stable storage, accessible surfaces and a written record of anything that may need a separate maintenance assessment.
Confirm the room's purpose and boundaries
Start by identifying what belongs in the cold room. Some households use it for preserves and produce, while others use it for beverages, empty canning supplies or general seasonal storage. Mixing food storage with paint, fuel, cleaning chemicals, damp textiles or unidentified containers makes the space harder to manage. Items that need a different storage location should be separated before shelves are rearranged.
The homeowner remains responsible for deciding whether stored food is safe and which personal items can be discarded. Do not guess from appearance, open sealed containers or remove anything without approval. Photograph questionable items in place and build a clear keep, relocate and approved-removal list before work begins.
Document the room before moving storage
Take wide photographs from the doorway and the end of the aisle. Include each shelving unit, the floor perimeter, visible wall surfaces, the ceiling area around pipes and the ventilation opening. Close-up photographs can record cracked containers, shelf movement, peeling finishes or discolouration without disturbing the area. Reference photos also make it easier to return approved items to their assigned zones.
- Keep the doorway and centre aisle open throughout the work.
- Record the location of vents, valves, pipes and electrical fixtures.
- Photograph shelf feet and the wall-to-floor joint before covering them again.
- Identify glass, heavy containers and fragile items before lifting anything.
- Set aside unidentified, leaking or strongly odorous material for separate direction.
Sort one shelf section at a time
Emptying the entire room at once can create a crowded basement hallway and make ownership decisions harder. Work through one shelf section at a time. Move lightweight approved items to a dry sorting surface, group like with like and return only what belongs in that zone. Keep glass containers upright and avoid stacking them where a lower item cannot be seen or reached safely.
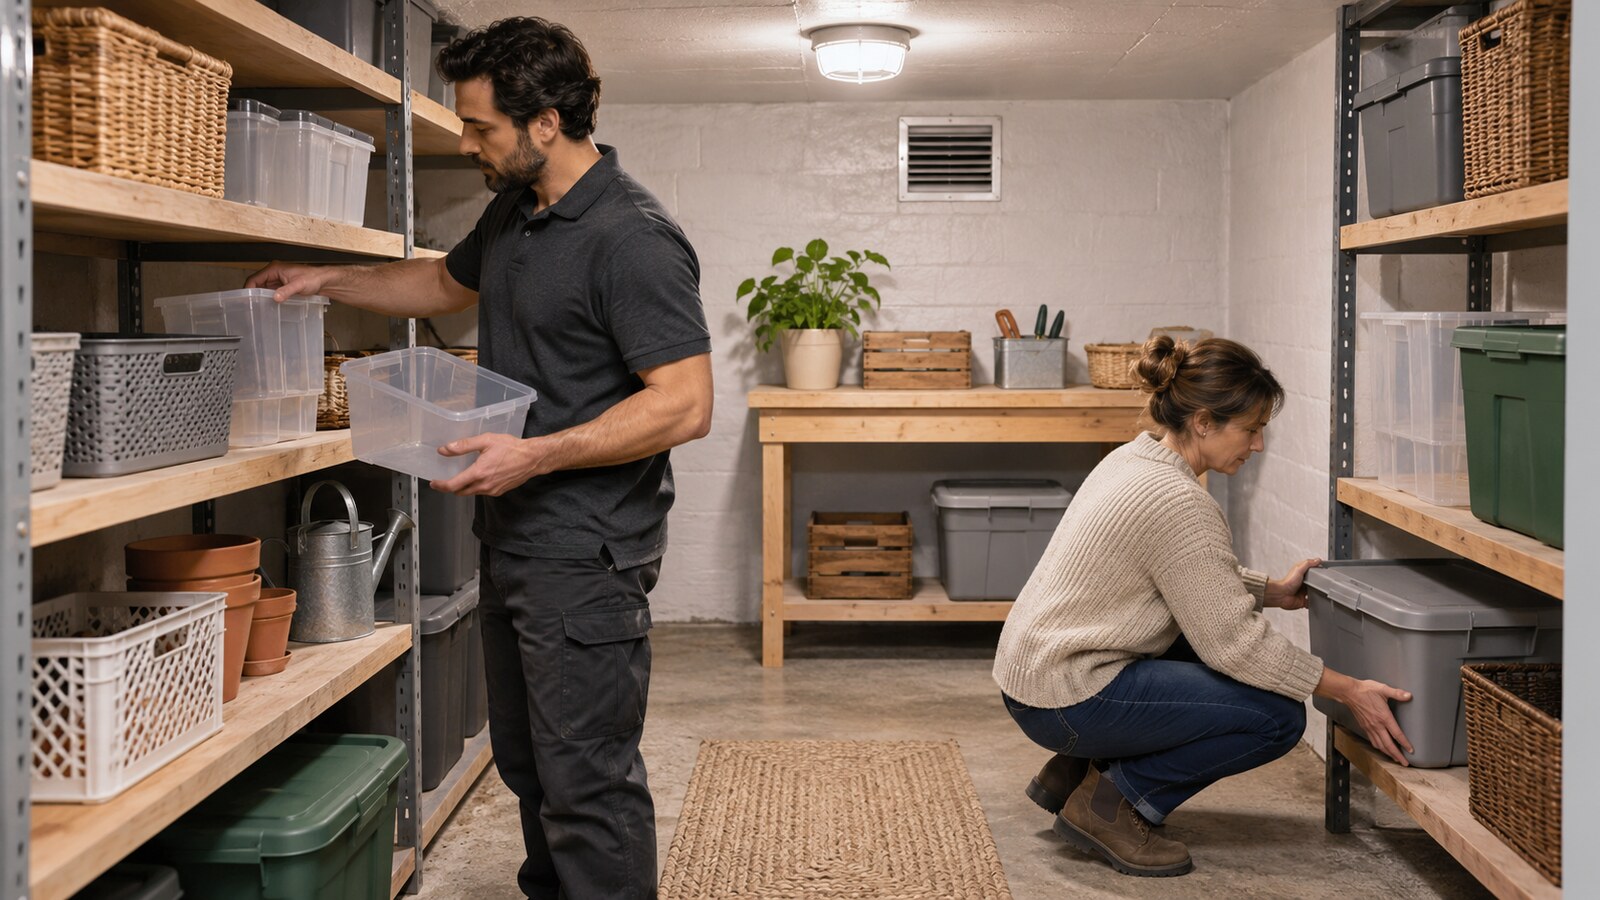
Place denser, stable containers on lower shelves and lighter items higher up. Do not overload shelving or use unstable stacks to gain height. Keep a small gap where the existing layout allows so the wall and shelf condition can be seen during later checks. Fixed shelving, fasteners and structural concerns should be left for an appropriate repair assessment rather than adjusted during clean-up.
Clean dry debris before using moisture
Begin with dry methods. Dust accessible shelf surfaces, then vacuum or sweep loose debris from the floor perimeter toward the open aisle. Use a narrow attachment around shelf feet only where it can be reached without forcing equipment behind fixed units. Remove empty cardboard that has softened, warped or picked up odours, but confirm that the contents and packaging are approved for removal first.
If damp wiping is appropriate, use a method suited to the shelf material and keep water controlled. Cold rooms often contain unfinished masonry, painted surfaces, metal shelving and wood components in a small area; one product is not suitable for every surface. Do not saturate walls, floor joints, wood shelves or containers, and allow cleaned areas to dry before returning storage.
Inspect the floor edge and lower shelf area
With the lower shelves temporarily clear, use good lighting to look along the wall-to-floor joint, around shelf feet and beneath the lowest storage level. Note visible dampness, mineral deposits, damaged finishes, soft wood, corrosion or a recurring odour. A flashlight and photographs can document the condition without probing the wall or removing building materials.
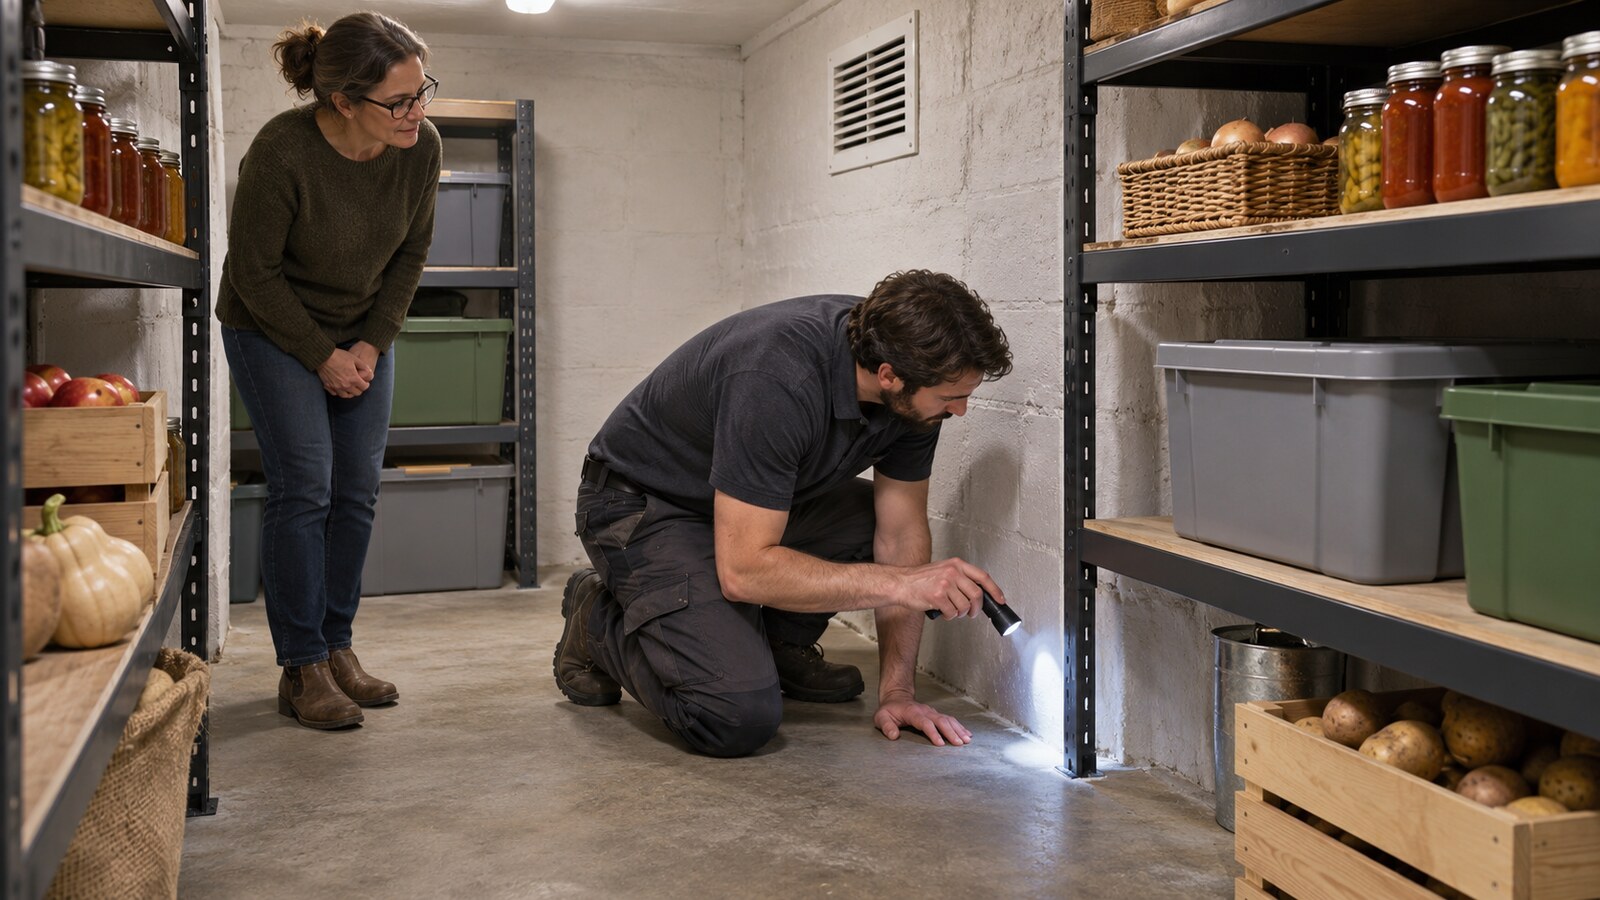
Stop the clean-up and seek appropriate direction if there is standing water, active leakage, widespread suspect growth, damaged electrical equipment, sewage, pests, a strong chemical odour or an unknown substance. Ordinary organization and surface cleaning should not be used to conceal or spread a condition that needs specialized assessment.
Keep ventilation and services accessible
Do not place bins, baskets or tall containers directly in front of the room's vent or grille. Keep visible valves, cleanouts, pipes and electrical fixtures unobstructed. The clean-up should not change ventilation settings, seal openings or add insulation. Questions about how the room is designed to perform belong with the homeowner, property manager or an appropriate building professional.
Leave enough space at the doorway to open and close it normally. If the cold room sits beneath an exterior porch, include the wall and ceiling areas nearest that exterior connection in the condition photos. This creates a useful baseline for the owner without making claims about the source of a mark or temperature difference.
Build a repeatable shelf plan
Assign broad zones that are easy to maintain: approved food storage, empty canning supplies, household containers and seasonal non-food items. Use plain sturdy bins where they make sense, but avoid hiding loose glass or heavy contents in deep containers that are difficult to lift. Keep the most frequently used items between knee and shoulder height and preserve a visible route to the back of the room.
- Return only approved items that are dry and in sound containers.
- Keep heavy storage low and avoid leaning items against the wall.
- Leave ventilation openings and service points unobstructed.
- Remove tools, bags and loose packaging from the aisle.
- Take final wide photographs from the doorway and back wall.
- Record items left for owner review or specialist follow-up.
What to send for an Ottawa cold-room quote
Send wide photos of the doorway, aisle, shelves, floor edges and visible vent, plus closer views of any approved items to move or remove. Include the room's approximate size, shelf type, access route, stairs, parking details and deadline. Mention glass, heavy containers, active moisture, odours, pests or any unidentified material so the scope can be assessed before an appointment is confirmed.
A useful cold-room reset makes the space easier to inspect, clean and maintain. Stable shelves, an open aisle, controlled sorting and clear condition notes give Ottawa homeowners and property managers a practical handoff before winter without confusing routine clean-up with building repair or food-safety advice.
Photos are illustrative examples of typical residential service results.