Pressure Washing
Pressure Washing Concrete Walkways in Ottawa: A Practical Guide to Cracks, Edges and Runoff
A practical Ottawa guide to inspecting and pressure washing concrete walkways while protecting cracks, garden edges, entrances and pedestrian access.
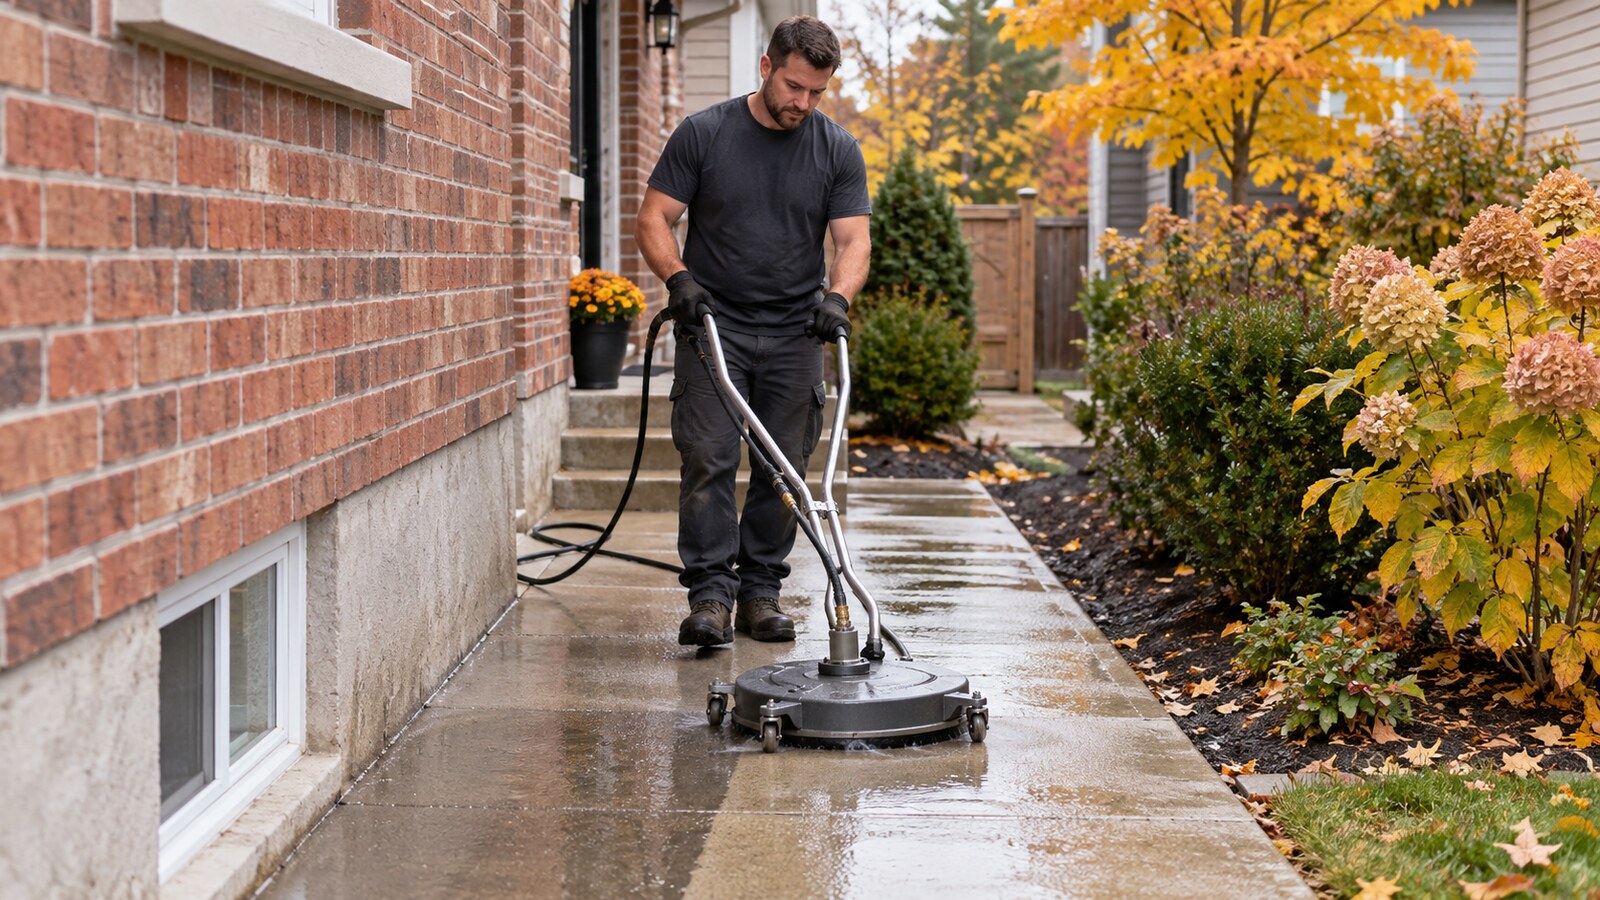
A concrete walkway usually looks straightforward: clear it, wash it and let it dry. In practice, the path may include hairline cracks, expansion joints, raised edges, garden borders, downspout outlets, basement windows and a front-door threshold. Water also has to go somewhere. A useful pressure-washing plan accounts for those details before the machine starts.
For Ottawa homeowners and property managers, the goal is a cleaner, more consistent walking surface without pretending that washing repairs damaged concrete. Pressure washing can remove ordinary surface soil and loose organic buildup, but it cannot level a settled slab, close a crack or reverse permanent discolouration. Those conditions should be documented and handled separately.
Inspect the full walkway before bringing out equipment
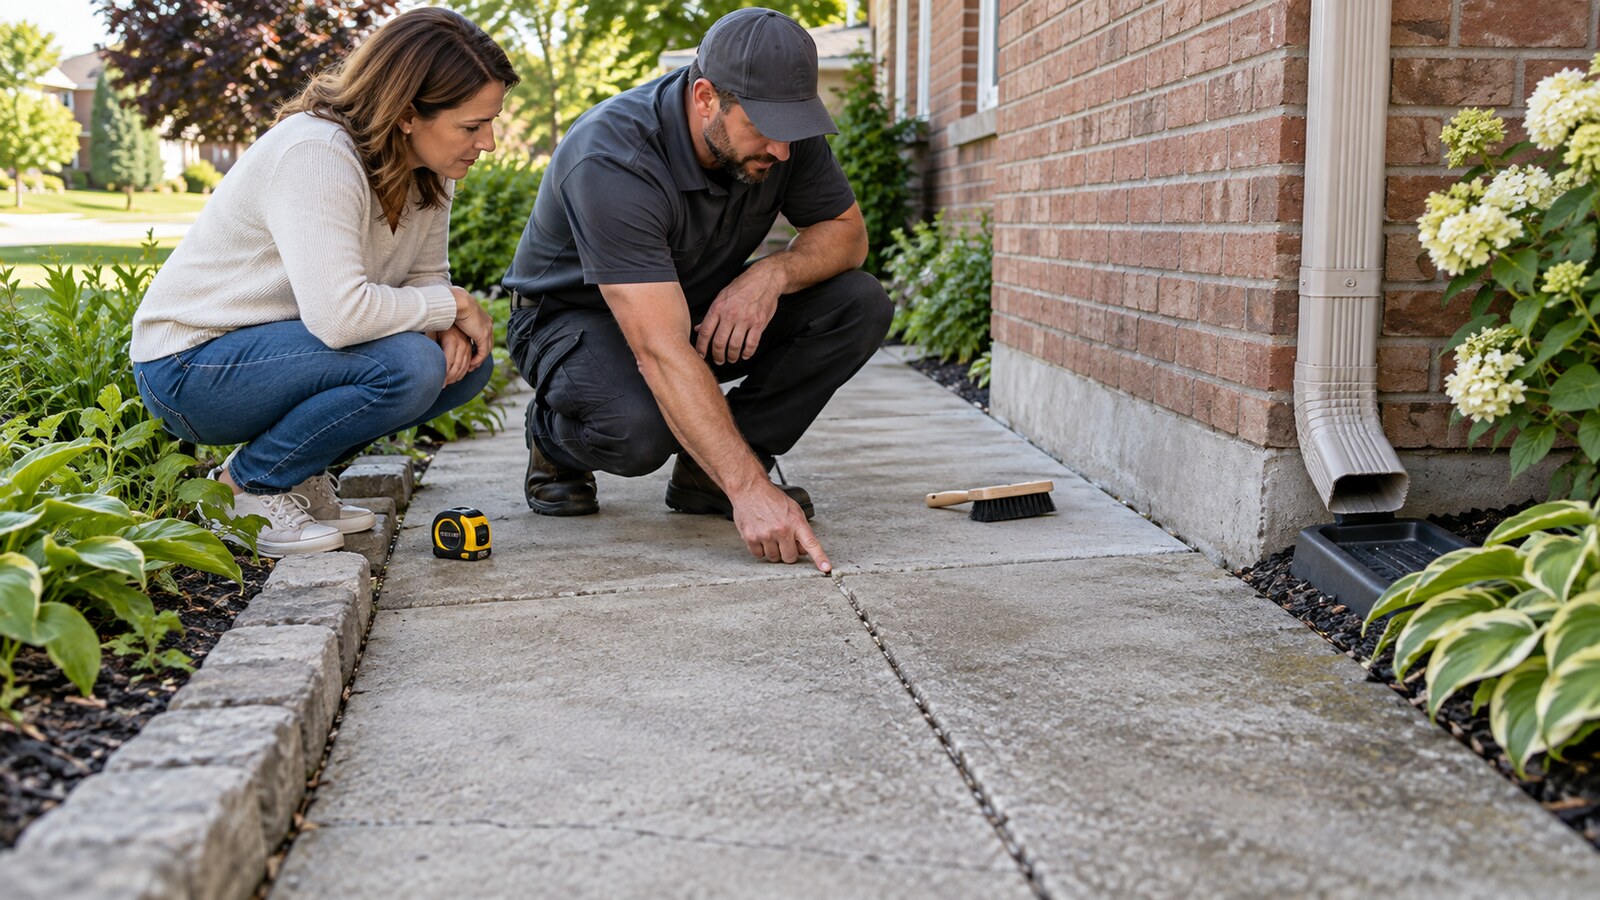
Walk the route from both directions in dry conditions. Look for cracks, spalling, loose aggregate, patched areas, open joints and slab edges that have shifted. Check whether the surface is poured concrete, exposed aggregate or a repair product, because each can respond differently to pressure and cleaning methods. Photograph concerns before moving furniture or planters.
Follow the slope and identify where rinse water will travel. Note low spots, soil edges, window wells, steps, drains and downspout outlets. A walkway beside a foundation requires particular control: water should not be driven into wall openings, beneath siding, toward a door seal or into an already wet area. If drainage is unclear, solve the routing question before washing.
Separate cleaning limits from repair needs
A dark line inside a crack may become less visible after loose soil is removed, but the crack remains. Crumbling edges, hollow-sounding patches, unstable repairs and flaking surfaces may not be suitable for routine pressure washing. Mark those locations and keep the cleaning pass away from material that could break loose.
Rust, paint, oil and deep organic staining do not all respond to the same treatment. Avoid promising a uniform result before the surface is assessed. A small test area can show whether the concrete changes colour, sheds material or develops visible wand marks. If a stain requires a separate process, quote and schedule it as a separate scope.
Clear the route and plan pedestrian access
Remove doormats, planters, hoses, toys and portable decorations. Sweep loose leaves, gravel and soil before applying water. Trim or tie back plants only with the owner’s approval, and keep tools off lawns or garden beds where they can damage roots or create a tripping point.
If the path serves the only entrance, agree on an access window and an alternate route where possible. Residents, visitors and deliveries should not cross active hoses or freshly washed concrete. At a multi-unit property, coordinate the work area with the manager and keep required exits open. A small controlled work zone is more useful than blocking the entire property.
Protect entrances, walls and landscaping
Close nearby windows and confirm that exterior doors seal properly. Protect vulnerable thresholds and keep spray away from electrical fixtures, vents, outlets and door hardware. Do not aim upward beneath siding or directly into masonry joints. The cleaning target is the walkway, not every nearby surface.
Pre-wet nearby plants when appropriate, move lightweight containers out of the work zone and avoid concentrating dirty rinse water in one garden bed. Soil and mulch can wash back onto concrete if the edge is flooded. Use controlled passes near borders, then clean the edge without cutting into the soil.
Use consistent passes instead of chasing marks
A rotary surface-cleaner attachment can help maintain a more even working distance across broad, sound concrete. It still requires steady movement and an appropriate setup. Stopping in one place, moving at different speeds or repeatedly attacking a stubborn spot can produce visible variation.
Work in logical sections that follow the slab layout. Keep each pass overlapping consistently and avoid running the equipment across loose edges or open cracks. A wand may be useful for controlled detail work along borders, but a narrow concentrated stream can etch concrete. Start conservatively and let the test area guide the approach.
Treat cracks, joints and edges carefully
Expansion and control joints are designed features, not grooves to be blasted clean at close range. Use a broader angle and avoid driving water beneath slab edges or into failed joint material. Loose filler, weeds or roots may indicate that the joint needs maintenance after the surface has dried.
At lawn and garden edges, direct pressure along the concrete rather than into the soil. Keep the nozzle moving and protect exposed roots, tender plants and fresh mulch. Where one slab sits higher than the next, approach the lip carefully so the equipment does not catch or send a concentrated stream beneath the raised edge.
Control runoff from the first pass to the final rinse
Begin at a point that allows water to move toward the planned collection or dispersal area without crossing a cleaned section repeatedly. Keep debris from accumulating at the bottom of steps, beside a door or in a window well. If water starts pooling where it should not, stop and correct the route rather than adding more volume.
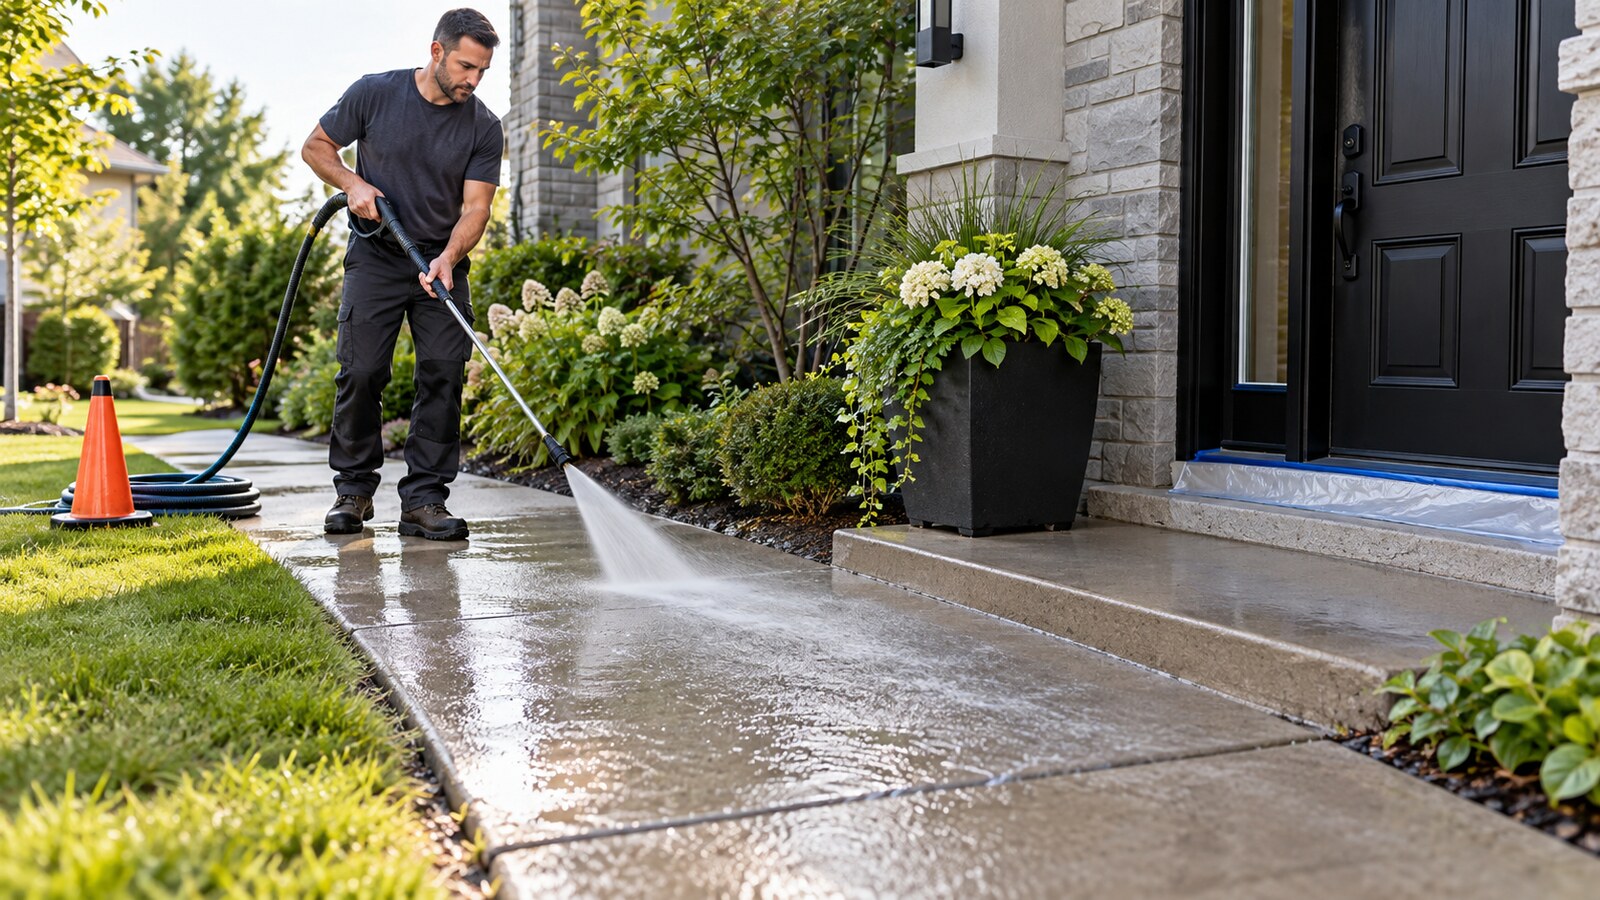
The final rinse should move loosened material off the walking surface without flooding the entrance or neighbouring property. Use a controlled fan pattern, collect larger debris and check that drains or approved outlets remain clear. Site conditions and local requirements vary, so confirm the appropriate handling route for the specific property.
Allow drying time and complete a final check
Wet concrete can hide remaining marks and surface variation. Keep traffic off the walkway until it is safe, then inspect it after the surface has had time to dry. Check entrances, steps, wall edges, garden borders and the hose route for splashback or displaced debris. Return mats and planters only when the surface is ready.
Compare the completed area with the pre-work photographs. Record permanent stains, cracks, settlement and repair needs that remain. A clear handoff tells the owner or manager what was cleaned and what still needs maintenance, without presenting pressure washing as a structural fix.
Concrete walkway pressure-washing checklist
- Photograph cracks, repairs, edges, steps and nearby openings.
- Confirm the surface type and test a small inconspicuous area.
- Plan where rinse water and loosened debris will go.
- Remove movable items and sweep loose material first.
- Protect doors, windows, electrical fixtures and garden edges.
- Keep residents and deliveries away from hoses and wet concrete.
- Use consistent overlapping passes on sound sections.
- Reduce intensity around cracks, joints and exposed edges.
- Stop if material loosens or water pools unexpectedly.
- Inspect again after drying and document remaining conditions.
What to send for a firm quote
Send wide photographs of the entire walkway and close views of cracks, steps, joints, stains, garden edges, entrances and drainage points. Include the approximate dimensions, water access, parking details, pedestrian restrictions and the deadline for the work.
Mattabo Property Care is fully insured for the services it provides. Readers can send photos, their Ottawa address and deadline for a firm quote. Same-day service is often available but is not guaranteed until Mattabo confirms the appointment. A quote request is not a confirmed booking.
To plan concrete walkway pressure washing in Ottawa, [contact Mattabo Property Care](/contact) with surface and access photos. A complete view of the route helps confirm the cleaning approach before the appointment is booked.
Photos are illustrative examples of typical residential service results.