Listing Preparation
Ottawa Dining Room Clean-Up Before Listing Photos: A Practical Plan for Tables, Chairs and Clear Walkways
A practical Ottawa guide to preparing a dining room for listing photos, with clear steps for furniture layout, storage, surfaces, floors and photo-day access.
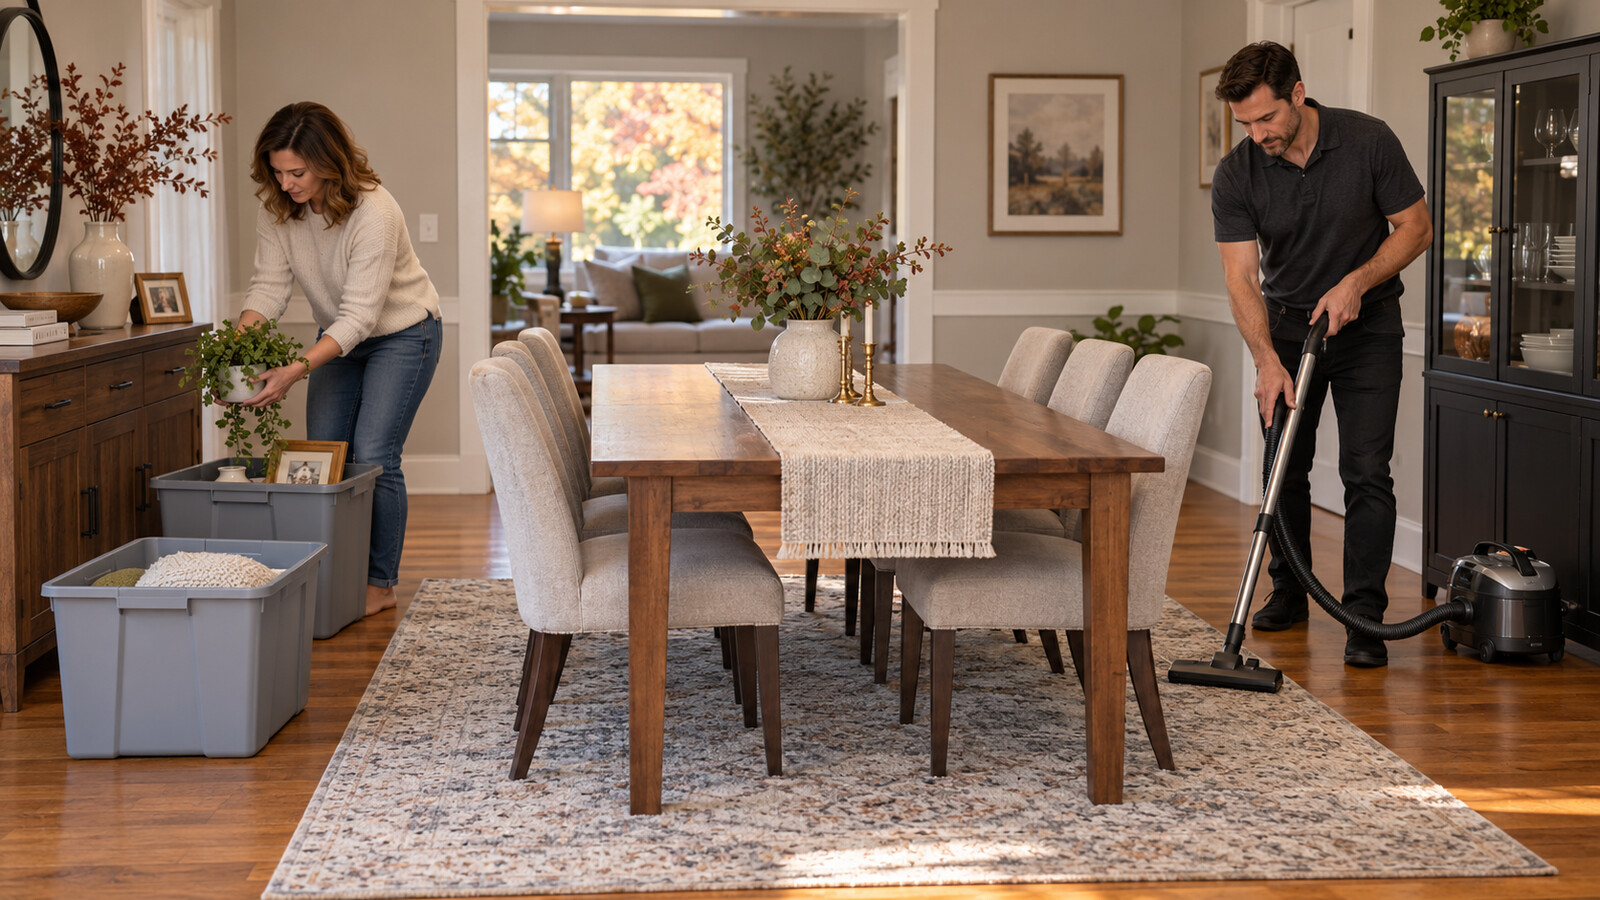
A dining room can look tidy in person and still feel crowded in listing photos. A large table, extra chairs, a full china cabinet and several layers of decor can compress the room on camera. At the same time, removing everything may make a useful space look unfinished or unclear.
The goal is not to create a showroom. It is to make the room easy to understand: one clear purpose, comfortable routes around the furniture, clean surfaces and enough detail to show how the space works. In Ottawa homes, that may mean preparing a separate dining room, an open-plan eating area or a smaller space that also serves as a home office.
Start with the photographer's route
Before moving furniture, identify where the photographer is likely to stand. Check the doorway, the corners of the room and any sightline from the kitchen or living area. A chair, plant or storage piece that seems harmless from the table may block a useful camera position or narrow the entrance.
Clear the route from the front door to the dining room as well as the route through the room. Remove shoes, bags, pet items and temporary boxes. If the photographer needs to move a tripod or step back into an adjacent room, that space should also be ready. Keep exits and heating equipment unobstructed while you work.
Decide what the dining room needs to prove
A buyer should be able to recognize the room's function without studying it. In a dedicated dining room, the table and a practical number of chairs are usually enough. In an open-plan area, the layout should distinguish dining from cooking and living zones without creating a barrier between them.
If the room currently doubles as an office, craft area or homework station, decide which use matters most for the listing. Pack the secondary equipment rather than pushing it into one corner. Coiled cables, printers, paperwork and folding tables can make the room look smaller and suggest that storage is limited.
Plan the table and chair layout
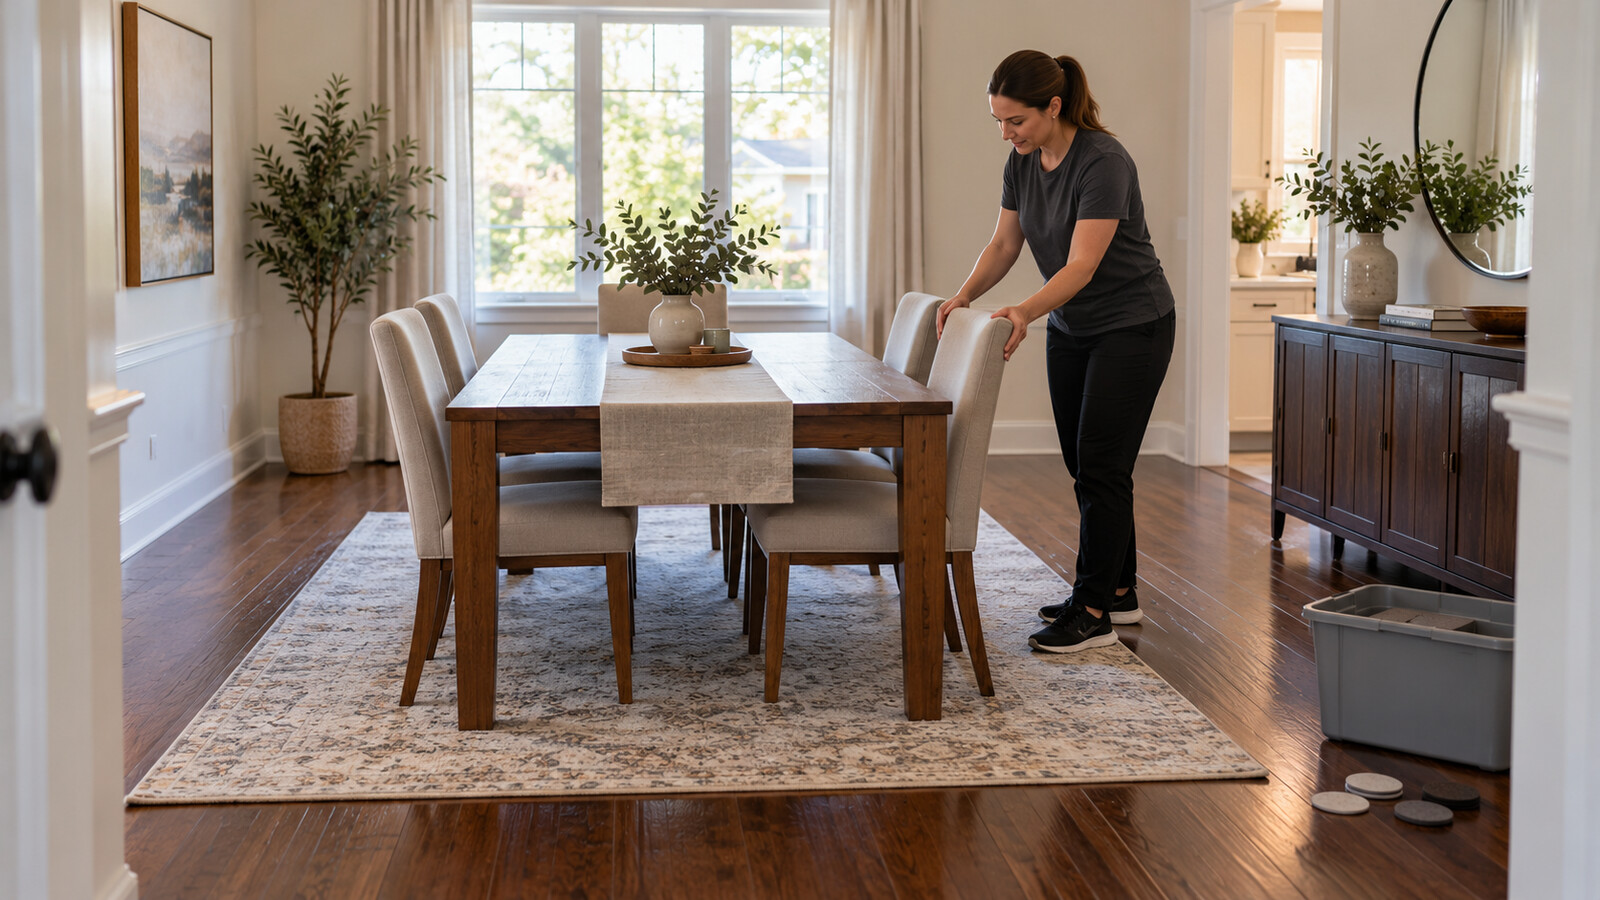
Centre the table in a way that respects the room rather than forcing perfect symmetry. A light fixture may provide a useful reference, but the walking route and door swing matter more. Pull each chair out just far enough to look usable, then check that people can still pass between the chair backs and the wall or sideboard.
Extra chairs can add visual weight. If the table seats eight but the room reads better with six, move the spare chairs to an approved storage location outside the photographed areas. Do not stack them in a hallway, basement stairwell or garage entrance. If the table has removable leaves, decide whether the smaller configuration shows the room more accurately and arrange safe storage for the leaf.
Reduce surface clutter without erasing the room
Start with the table. Remove mail, chargers, placemats, children's items and daily drop-zone clutter. One low, simple centrepiece is usually easier to photograph than several tall objects that interrupt the view across the room. Keep candles unlit and avoid arrangements that crowd the usable surface.
Apply the same rule to a sideboard, hutch or bar cart. Group a few neutral items and pack the rest. Open shelving and glass-front cabinets need particular attention because every object remains visible. You do not need matching dishes, but uneven piles, packaging and unrelated household supplies can distract from the storage feature itself.
Sort personal and fragile items deliberately
Dining rooms often hold family photographs, heirloom dishes and breakable serving pieces. Decide what will stay before a cleaning crew or photographer arrives. Pack valuable or sentimental items yourself in suitable materials, label the container for your own move and place it in a secure location that will not appear in other rooms.
Use three simple destinations: keep in the room, pack for the move, or remove through an approved ordinary-junk or donation plan. Do not mix important documents, medication, keys or valuables into a general clean-up pile. Hazardous products, broken glass, pests and unknown substances need separate handling and should be disclosed before service is booked.
Check windows, walls and lighting
Open curtains and blinds evenly if they are in good condition, then wipe accessible sills and remove dead leaves from nearby plants. Replace visibly failed bulbs with suitable bulbs already approved for the fixture, and use a consistent colour temperature where practical. Do not attempt electrical repairs or work from an unsafe height as part of a routine room clean-up.
Look at the wall behind each chair. Ordinary scuffs may become more noticeable after furniture is moved. Use a surface-appropriate method and test it in a discreet area; aggressive scrubbing can change paint sheen or damage wallpaper. Leave repairs, unstable fixtures and any suspected mould or water damage to the appropriate qualified professional.
Clean surfaces after the layout is settled
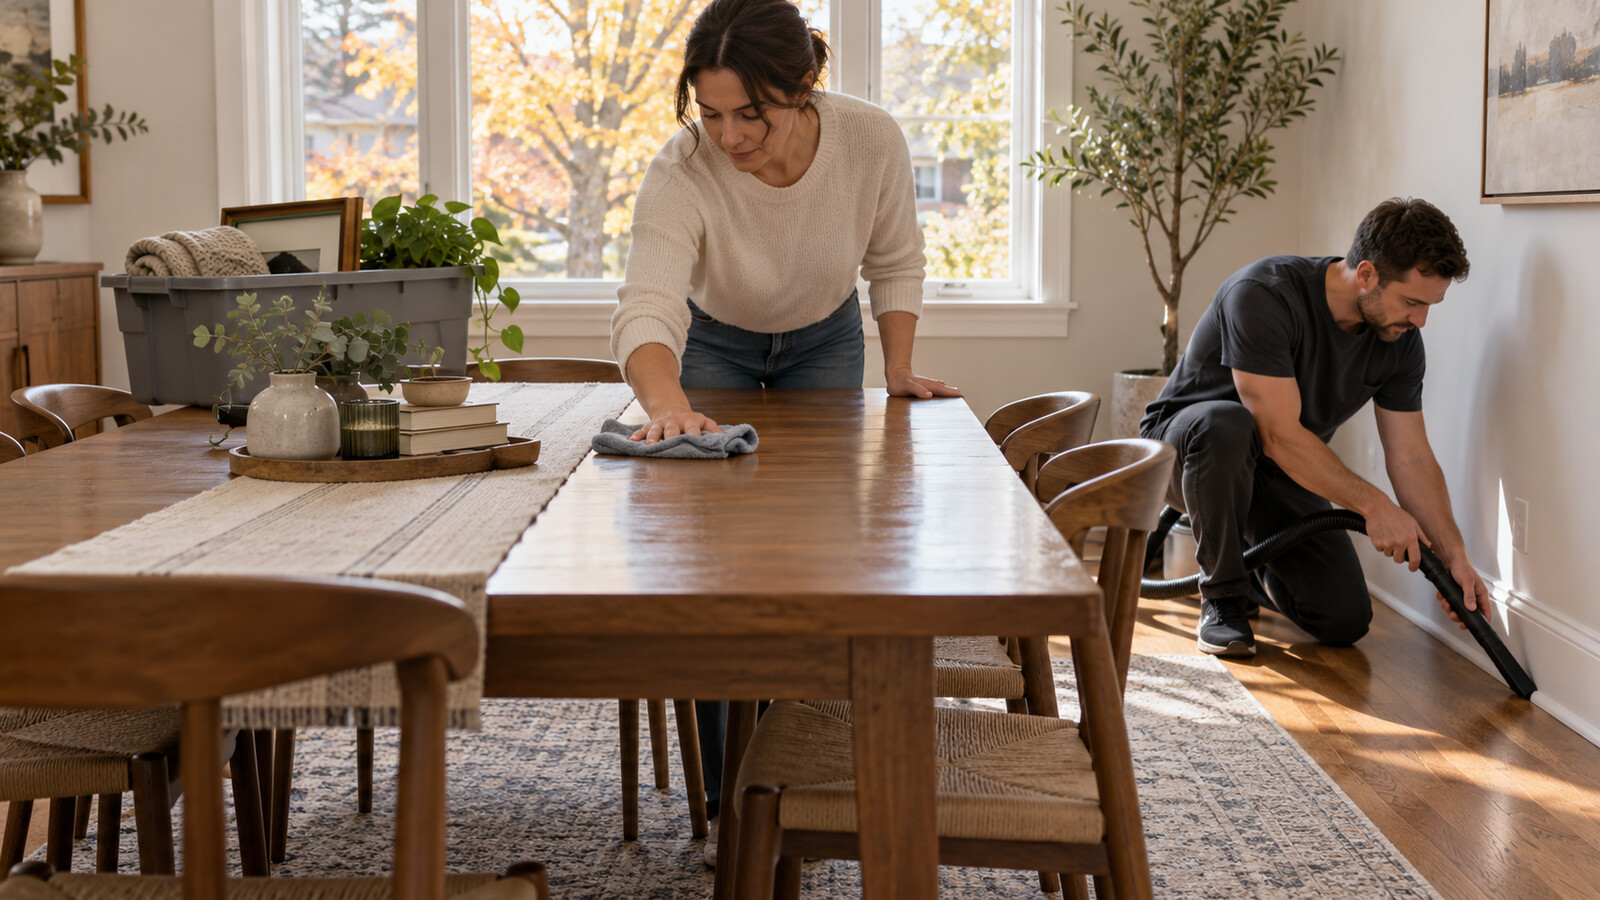
Dust from high accessible surfaces downward, then clean the table, chair backs, legs, baseboards and floor edges with methods suited to each material. Wood, stone, glass and painted finishes do not all accept the same product. Avoid heavy polish immediately before photos because glare and residue can show under natural or supplemental lighting.
Vacuum or sweep after the furniture reaches its final position. Pay attention to crumbs beneath the table, dust around chair legs and the perimeter beside the baseboards. If a rug stays, straighten it and check for curled edges. If it creates a trip hazard or hides too much floor, arrange removal before the photo appointment rather than making a last-minute change.
Use nearby storage carefully
A hall closet, spare bedroom or basement is not automatically a good hiding place. Listing photos often include those areas, and buyers may open built-in storage during a showing. Moving dining-room clutter into another photographed space simply transfers the problem.
Choose a deliberate staging location for packed bins and removed furniture. Keep the route to that location clear and protect floors and door frames as needed. For a condo, confirm elevator, loading and storage-locker access before moving larger pieces. Building access and permitted work times should be settled in advance.
Coordinate the clean-up with the listing schedule
Work backwards from the photography appointment. Furniture decisions and packing should happen first, followed by surface cleaning and floors. Leave enough time for damp-cleaned areas to dry and for bins or removed items to reach their approved destination. Avoid booking several crews into the same route at once.
On photo day, remove cleaning supplies, waste bags and equipment from the frame. Align chairs, straighten the rug and check the room from the doorway and adjacent spaces. The real-estate agent or photographer may make final adjustments, so keep the area accessible rather than sealing it off after cleaning.
Send useful details for a firm quote
Provide one wide photo from each doorway, plus closer views of the table, chairs, storage furniture and anything proposed for removal. Include the floor level, stair or elevator access, parking or loading details, the number of furniture pieces and the photography deadline. State whether bins are already packed and where approved items need to go.
A clear scope prevents confusion between ordinary interior clean-up, furniture moving and junk removal. It also helps identify fragile pieces, tight turns or building arrangements before the appointment rather than while the photographer is waiting.
Photos are illustrative examples of typical residential service results.