Interior Clean-Up
Ottawa Interior Staircase Clean-Up: A Practical Guide to Treads, Railings and Access
Plan a careful clean of hard-surface stairs, railings and landings while protecting finishes and keeping household access manageable.
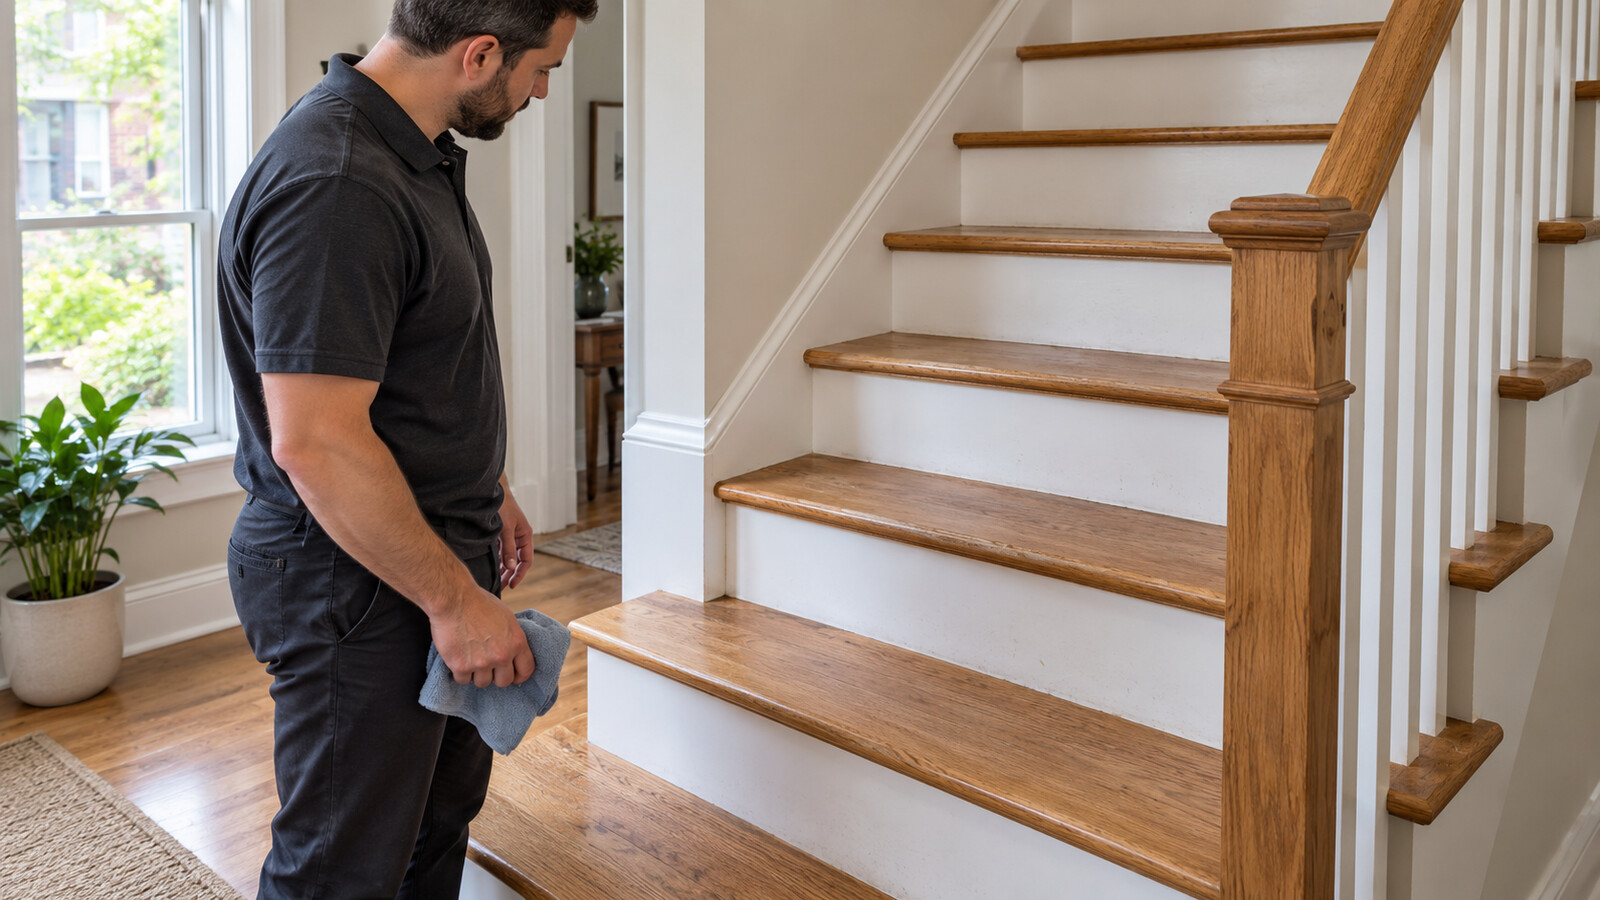
Stairs can look tidy from the front door while dust remains along the tread edges, marks collect on the risers and handrails feel sticky. In an occupied Ottawa home, cleaning them also interrupts a route people use all day. The job needs a plan for the surfaces and for the household—not simply a quick pass with a wet mop.
This guide covers ordinary clean-up of hard-surface interior stairs, railings and landings. It suits a townhouse in Barrhaven, a split-level home in Nepean or a rental with its own internal staircase. It is not a guide to stripping finishes, repairing stairs or treating contamination. Start by defining what can be cleaned safely and what needs a separate assessment.
Count the work areas, not just the steps
A useful quote describes each flight, intermediate landing and adjoining floor area. Include the treads you stand on, the upright risers, the projecting tread edges, the wall-side trim and the handrail. Mention whether both sides of a railing are accessible from a normal standing position. High ledges over a stairwell are a different access problem and should not be assumed to be included.
Photograph the full staircase from the top and bottom without leaning over a railing. Add close views of worn edges, sticky patches, paint marks and any change in flooring. Note a turn, narrow landing or doorway that limits movement. A short flight with detailed spindles can involve more hand work than a longer, simpler staircase.
Identify the finish before choosing a method
Wood, painted surfaces, laminate, vinyl and tile do not share one cleaning method. Even two wooden staircases may have different finishes and care requirements. Look for the flooring or finish manufacturer's instructions, or ask the owner or installer what was used. If the finish is unknown, say so when requesting work; appearance alone is not a reliable product specification.
Use only a method and product suitable for the identified finish. Start with a small, inconspicuous test where the manufacturer's directions permit it, and check the result after drying. Avoid treating a dull patch as dirt that needs harder scrubbing. Worn coating, scratches and damaged paint may remain after a careful clean. Cleaning should not be sold as refinishing.
Arrange household access before work starts
Choose a time when nobody needs repeated trips between floors. Discuss children, pets, deliveries, work calls and access to bedrooms or bathrooms before confirming the appointment. Move the items people will need to the appropriate level first. If the staircase is the only route to an essential space, explain that constraint rather than assuming everyone can simply stay away.
In a rental, coordinate access and communication through the responsible property manager. Shared escape routes require a building-specific work plan; this household guide is not permission to close a common stairwell. Never improvise a barrier that blocks an exit or creates a trip hazard. If safe access cannot be maintained, reschedule or agree on a different approach.
Clear the stairs without creating another obstacle
Remove shoes, laundry, toys and decorative objects from treads and landings. Put them in their proper rooms, not in a pile just beyond the last step. Keep doors able to open normally. Leave fixed handrails, stair gates and installed components in place unless their removal is specifically assessed and authorized.
Keep supplies off the stairs and outside the walking route. Choose equipment that can be controlled without trailing cords across steps or balancing a machine on a narrow tread. Do not stretch from one position to reach several steps, use a chair on a landing as access equipment or lean across an open stairwell. Work beyond comfortable, stable reach needs a different plan.
Remove loose grit before wiping
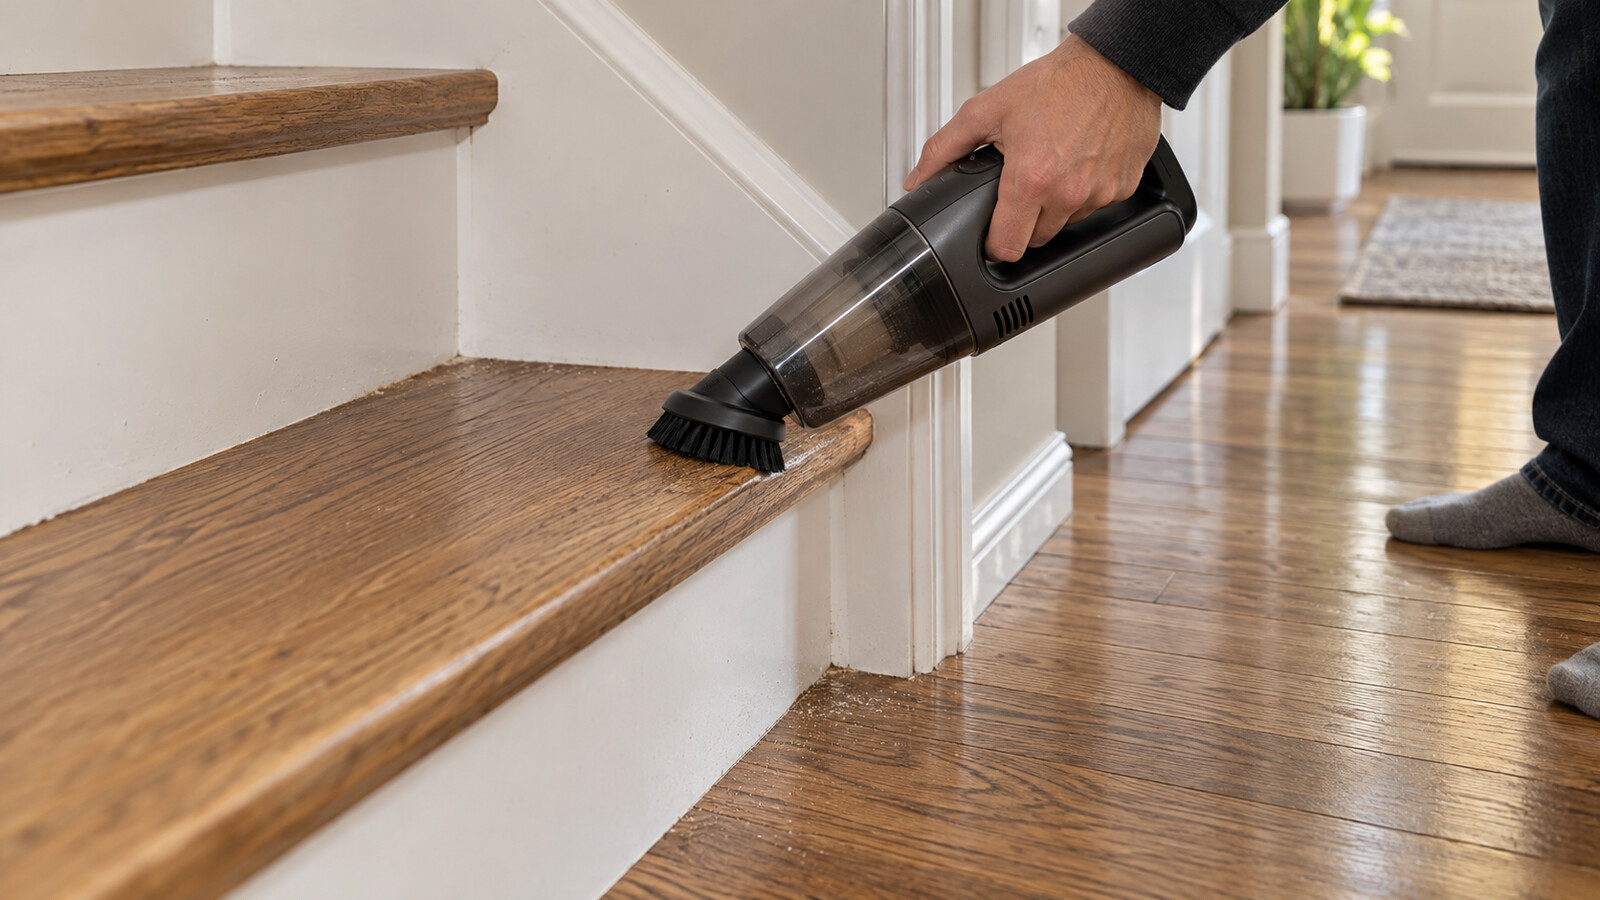
Begin with ordinary loose dust and debris using a suitable soft attachment or other finish-compatible dry method. Pay attention to corners where the tread meets the riser, the edges beside trim and the underside of accessible projecting lips. Check the attachment itself for trapped grit before moving it across a finished surface.
Work in a controlled sequence so debris is not carried back over completed areas. Empty equipment away from the staircase and keep collected debris contained. Do not brush unknown renovation dust into the air. If there are sharp objects, pest debris, suspected mould or other contamination, stop and disclose it; ordinary interior clean-up is not a substitute for specialist handling.
Keep moisture controlled and expectations realistic
For surfaces that permit damp cleaning, follow the finish and product directions and use the minimum moisture needed. Do not soak wood joints or leave liquid collecting along trim. A stair tread is not a place for an improvised pressure-washing or steam-cleaning experiment. Clean a manageable area and allow it to dry before returning it to use.
Avoid adding wax, polish or a shiny dressing as part of a routine clean unless it is specifically appropriate and separately agreed. A glossy appearance is not the goal. Persistent marks should be assessed rather than repeatedly attacked with stronger products or abrasive pads. Tell the owner when a mark appears to be wear, paint transfer or finish damage instead of promising it will disappear.
Include railings and touch points
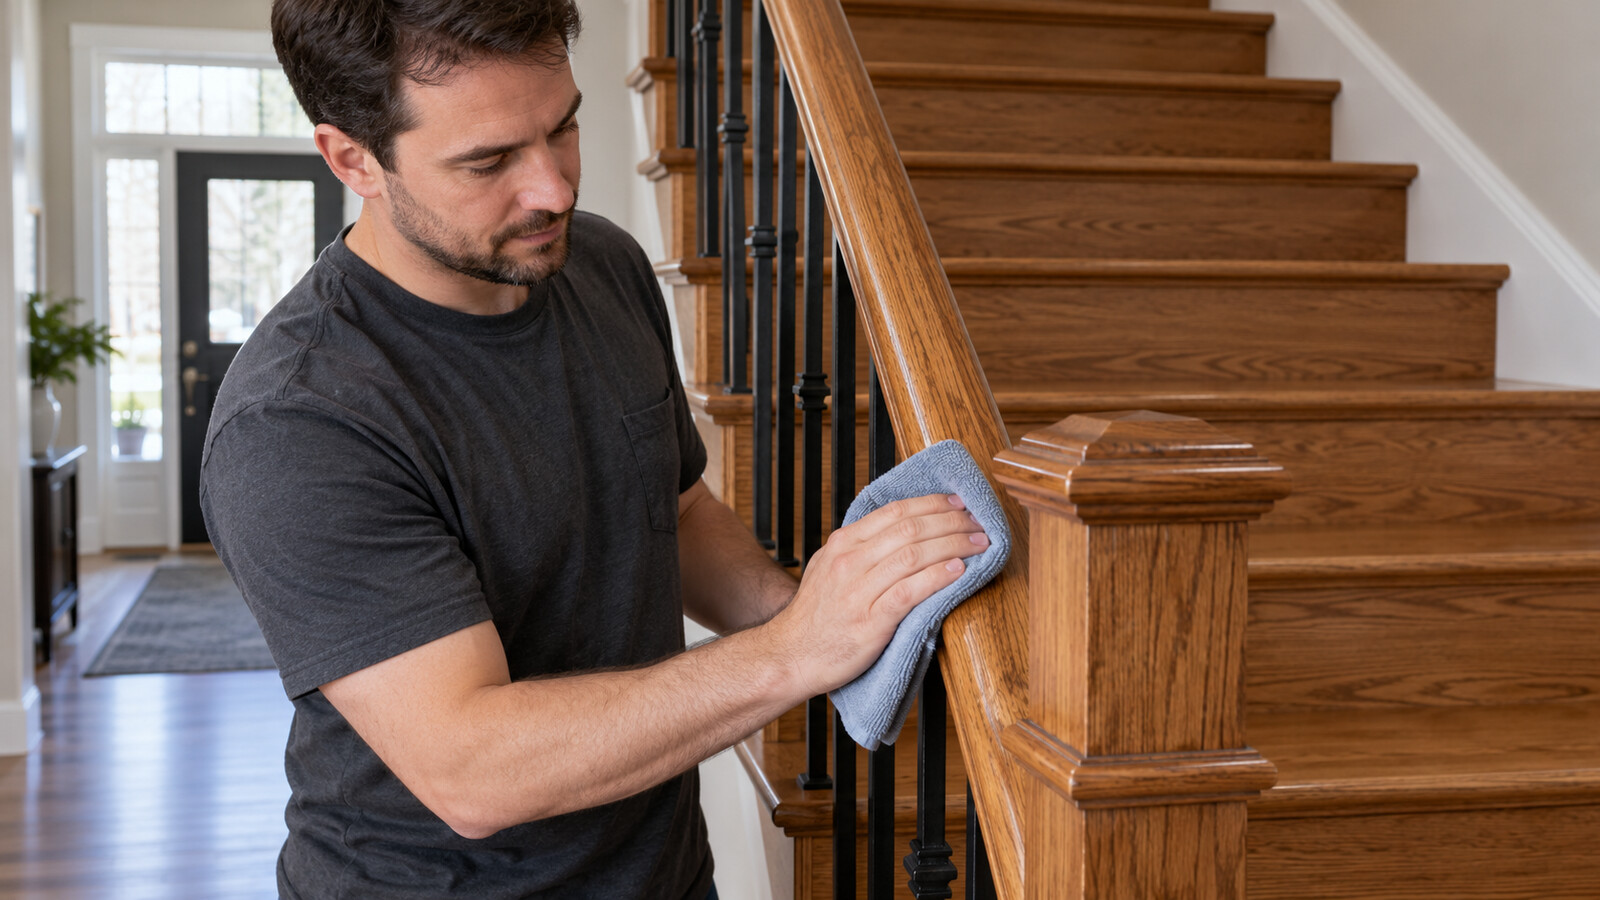
Clean accessible handrails, newel posts and spindle surfaces using a method appropriate for their own finish. Use clean cloth sections so residue is not spread along the rail. Do not spray product across the staircase or onto adjacent painted walls, fittings or flooring. Let cleaned contact surfaces dry before normal use resumes.
Report loose rail sections, moving tread edges, lifted coverings or sharp defects separately. Do not tighten unfamiliar fittings or conceal damage under a cleaner or coating. Where a carpet runner is present, identify its edges and attachment condition without pulling it up. Confirm any textile cleaning separately; a hard-surface stair clean does not automatically include it.
Finish with a practical handoff
Check the stairs in good light once the surfaces are dry. Remove equipment, cloths and collected debris, and confirm that landings and door swings remain clear. Review any marks that remain and any maintenance concerns found during the work. For listing preparation, do this before photographs or showings, with enough time for drying rather than immediately before visitors arrive.
For a firm scope, send the number of flights, surface information, access limitations and photos of the complete work area. Explain whether the home is occupied and when the stairs must be available again. Ask which surfaces are included and which require separate work. If the scope changes, have it reconfirmed before the appointment.
Photos are illustrative examples of typical residential service results.