Listing Preparation
Ottawa Kitchen Pantry Organization Before Listing Photos: A Practical Preparation Guide
A practical Ottawa guide to editing, cleaning and organizing a kitchen pantry before listing photos and buyer showings.

A kitchen pantry can attract more attention during listing preparation than many sellers expect. Buyers may open the door to judge storage capacity, shelf depth and everyday usefulness. If every shelf is packed to the front, even a generous pantry can appear difficult to use. The goal is not to create a showroom display. It is to make the available storage easy to understand in photographs and during a showing.
For Ottawa homeowners and real-estate agents, pantry preparation is usually a focused editing job: remove what does not need to be shown, clean the exposed surfaces, group what remains and leave a clear route to the shelves. A sensible plan can also prevent last-minute boxes from migrating into the kitchen just before the photographer arrives.
Start with the listing-photo viewpoint
Stand in the kitchen and look toward the pantry from the angles a photographer or visitor is likely to use. A walk-in pantry may be visible through an open doorway, while a cabinet pantry may appear when doors are opened for a feature photo. Notice the first shelf edges, the floor, the door swing and any items that project into the opening. Those are the areas that affect the first impression.
Decide whether the pantry should be photographed open. That is a conversation for the seller and agent, not an assumption. Even if it will remain closed in the main kitchen images, prepare it for showings. Buyers may inspect storage, and an overloaded shelf or blocked floor can distract from an otherwise well-presented kitchen.
Empty one manageable zone at a time
Avoid emptying the entire pantry onto the kitchen floor unless there is enough time to finish the job. Work shelf by shelf or in small vertical sections. Use a table or island as the sorting surface and keep the cooking route clear. This approach makes it easier to stop safely if the home is still occupied during the listing process.
As each section is cleared, check the shelf for loose crumbs, sticky residue, worn liner and small spills. Use a cleaning method suitable for the shelf material, then allow the surface to dry before replacing anything. Do not cover damage or moisture with a basket. If a shelf is loose, swollen or unstable, flag it for repair instead of loading it again.
Sort by decision, not by appearance
Create practical groups: keep in the pantry, use soon, relocate, donate if appropriate, recycle where accepted and ordinary non-hazardous waste. Check dates and packaging condition, but do not discard another household member’s food or supplies without approval. Unopened usable food may have a donation option, while leaking, unlabelled or damaged containers require a separate decision.
Relocate bulk purchases, duplicate appliances, seasonal serving pieces and oversized containers that make the shelves look compressed. The best off-site or temporary storage choice depends on the home and moving plan. Keep essential daily items accessible so the seller does not undo the organization after the first showing.
Reduce visual noise without hiding useful storage
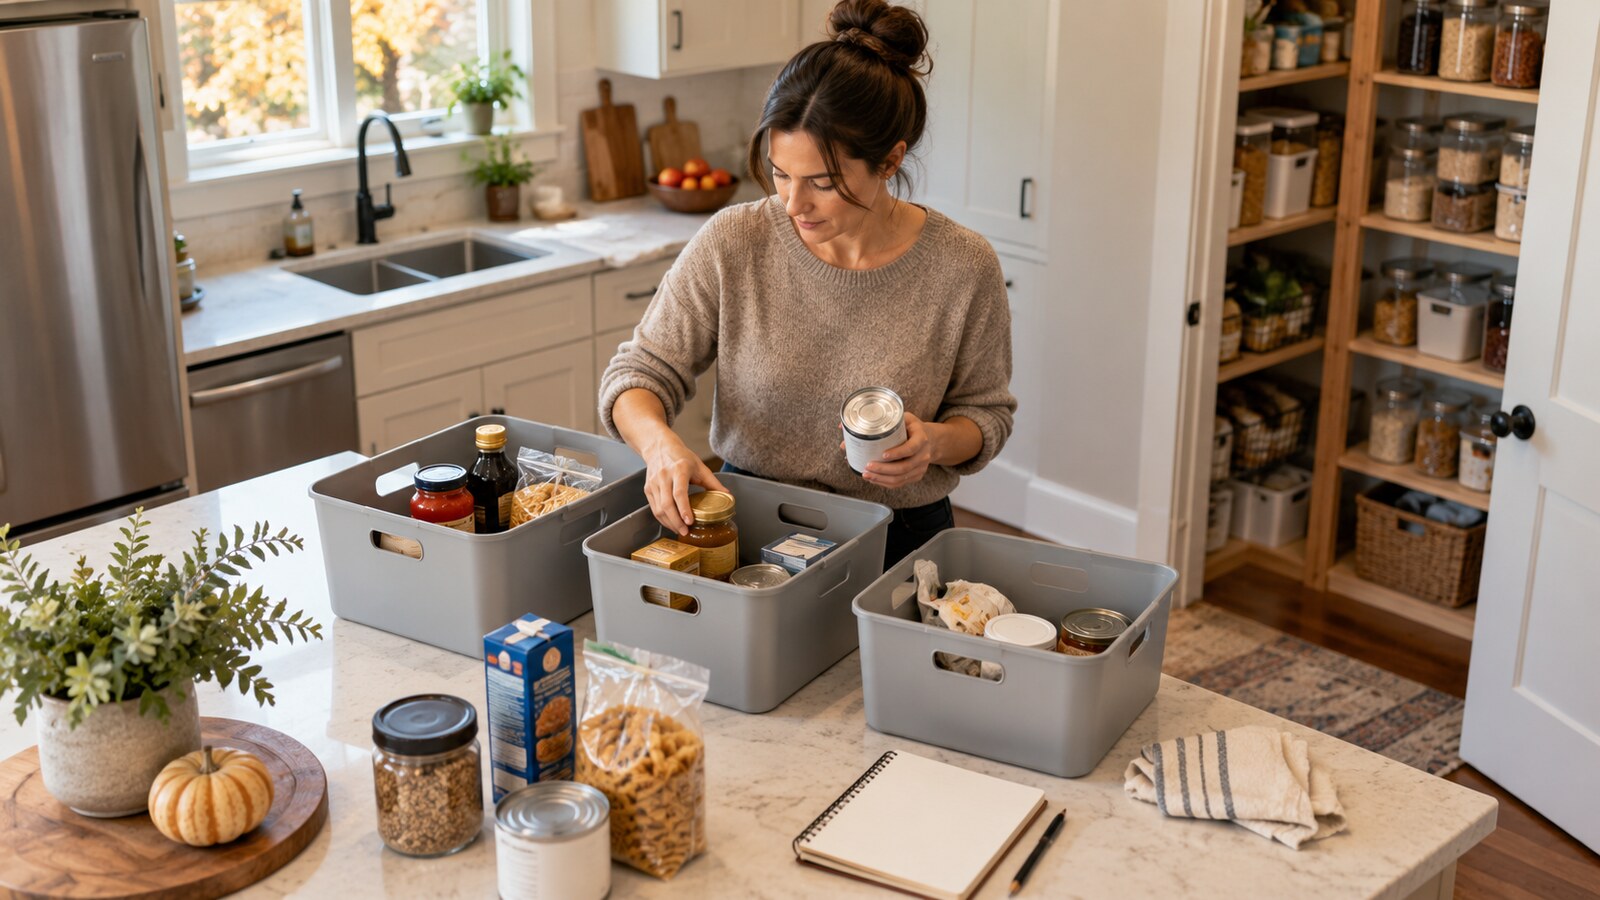
Listing preparation does not require transferring every ingredient into matching jars. That can add cost and create extra work during a move. Instead, group small loose packages in a few plain baskets or bins, turn heavily branded fronts slightly inward when practical and leave some open space around each category. Consistent spacing often communicates capacity better than decorative accessories.
Keep labels needed for safe household use visible. Do not decant products when ingredients, expiry information or preparation instructions may be important. Store household cleaners away from food and follow the original product directions. Listing photographs are temporary; safe, functional storage still matters.
Build a simple shelf plan
Place frequently used items between knee and shoulder height where possible. Reserve sturdy lower shelves for heavier appliances, canned goods and bulk containers. Lighter or less frequently used items can sit higher, provided they are stable and do not lean over the shelf edge. Keep the floor clear in a walk-in pantry so its usable depth is visible.
Group similar items together and keep stacks low enough to remain stable. Leave the electrical panel, shutoff, vent or access hatch unobstructed if the pantry contains building components. The finished layout should allow a person to open the door, reach the main shelves and see the back wall without moving a tower of boxes.

Keep the kitchen functional during the selling period
A pantry can look organized on photo day and become crowded again after one grocery trip. Leave one small area for incoming items and use a temporary basket for snacks or school-lunch supplies. Ask everyone in the home to return items to the same broad categories rather than maintaining a complicated system. Simple habits are easier to sustain through multiple showings.
Before each showing, check the floor, door handle and first visible shelf. Remove grocery bags, recycling and delivery boxes from the kitchen route. Make sure no container is leaking and no item prevents the door from opening fully. This short reset is more useful than repeatedly reorganizing every shelf.
Pantry preparation checklist
- Confirm whether the agent plans to photograph the pantry open.
- Work one shelf or section at a time.
- Clean exposed shelf surfaces and allow them to dry.
- Separate keep, relocate, donate, recycle and ordinary waste decisions.
- Remove duplicate appliances and oversized packages that compress the space.
- Group small items in a limited number of plain containers.
- Keep essential labels and safe storage practices intact.
- Place heavier items on sturdy lower shelves.
- Leave the floor, door swing and building-access points clear.
- Plan a quick reset before each showing.
What to send for a firm quote
Send wide photographs from the kitchen and pantry doorway, plus closer views of the shelves, floor and any bulky items that may need removal or relocation. Include the pantry dimensions if known, the home’s access details, whether the property is occupied and the date of the photography or first showing.
Mattabo Property Care is fully insured for the services it provides. Readers can send photos, their Ottawa address and deadline for a firm quote. Same-day service is often available but is not guaranteed until Mattabo confirms the appointment. A quote request is not a confirmed booking.
For help preparing an Ottawa kitchen pantry before listing photos, contact Mattabo Property Care through /contact with clear shelf and access photos. A complete view helps define the organization, clean-up and ordinary junk-removal scope before an appointment is confirmed.
Photos are illustrative examples of typical residential service results.