Rental Property Care
Ottawa Rental Living Room Turnover Clean-Up: A Practical Handoff Guide for Floors, Walls and Access
Prepare an Ottawa rental living room for its next handoff with a practical plan for approved item removal, furniture access, baseboards, floors, walls and final documentation.
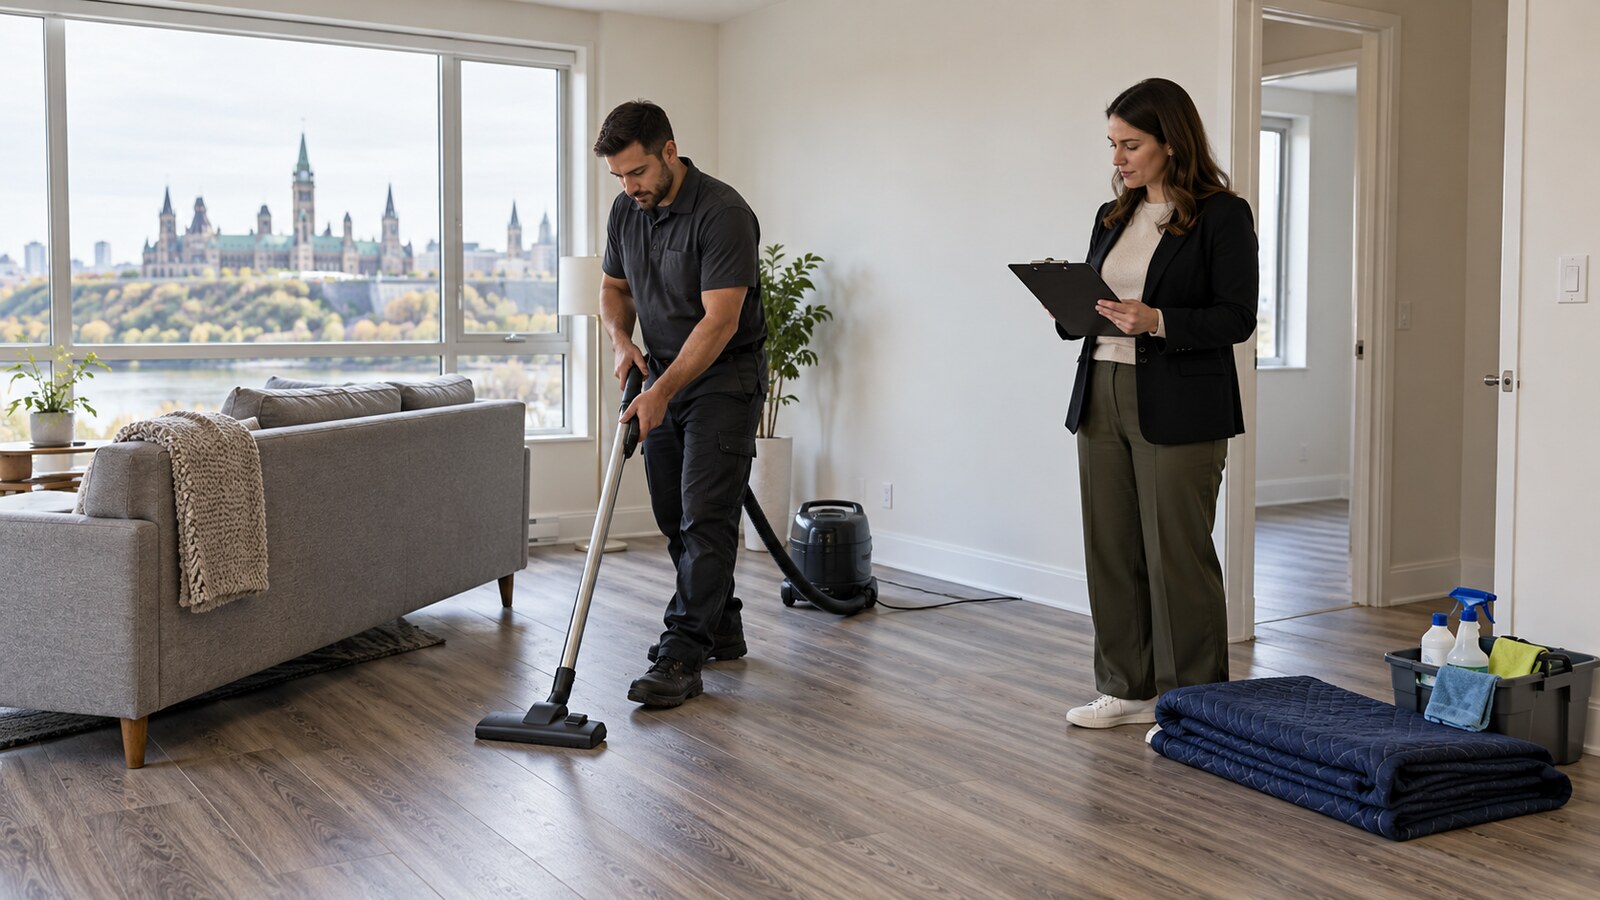
The living room is often the largest open area in a rental, but that does not make it the simplest room to turn over. Sofas hide floor edges, televisions leave cables and wall mounts behind, and a mostly empty room can still contain lamps, small tables, window coverings or tenant belongings that require a clear decision before anyone moves them. A practical handoff starts with documentation and an approved scope, then works from access routes to surfaces.
This guide is for routine interior clean-up and approved ordinary non-hazardous item removal in an Ottawa rental living room. It does not cover electrical work, structural repairs, mould remediation, pest treatment, bodily fluids, needles or unknown contamination. Those conditions should be isolated and directed to the appropriate qualified service rather than folded into a standard turnover clean-up.
Confirm what should remain in the room
Before cleaning begins, identify every item that belongs to the property, the departing tenant, a staging company or another contractor. Built-in shelving may stay while a freestanding bookcase leaves. A floor lamp may be part of the unit, while a television bracket may need separate approval before removal. Do not assume an item is abandoned because the room looks vacant.
Property managers should provide an approved keep-and-remove list and follow their lease, building procedures and documentation requirements. Photograph the room from each doorway before moving furniture or disconnecting ordinary electronics. Include the walls behind large items, visible floor condition, window area, outlets, vents and any keys or remotes found in the room.
Create a clear route before moving anything
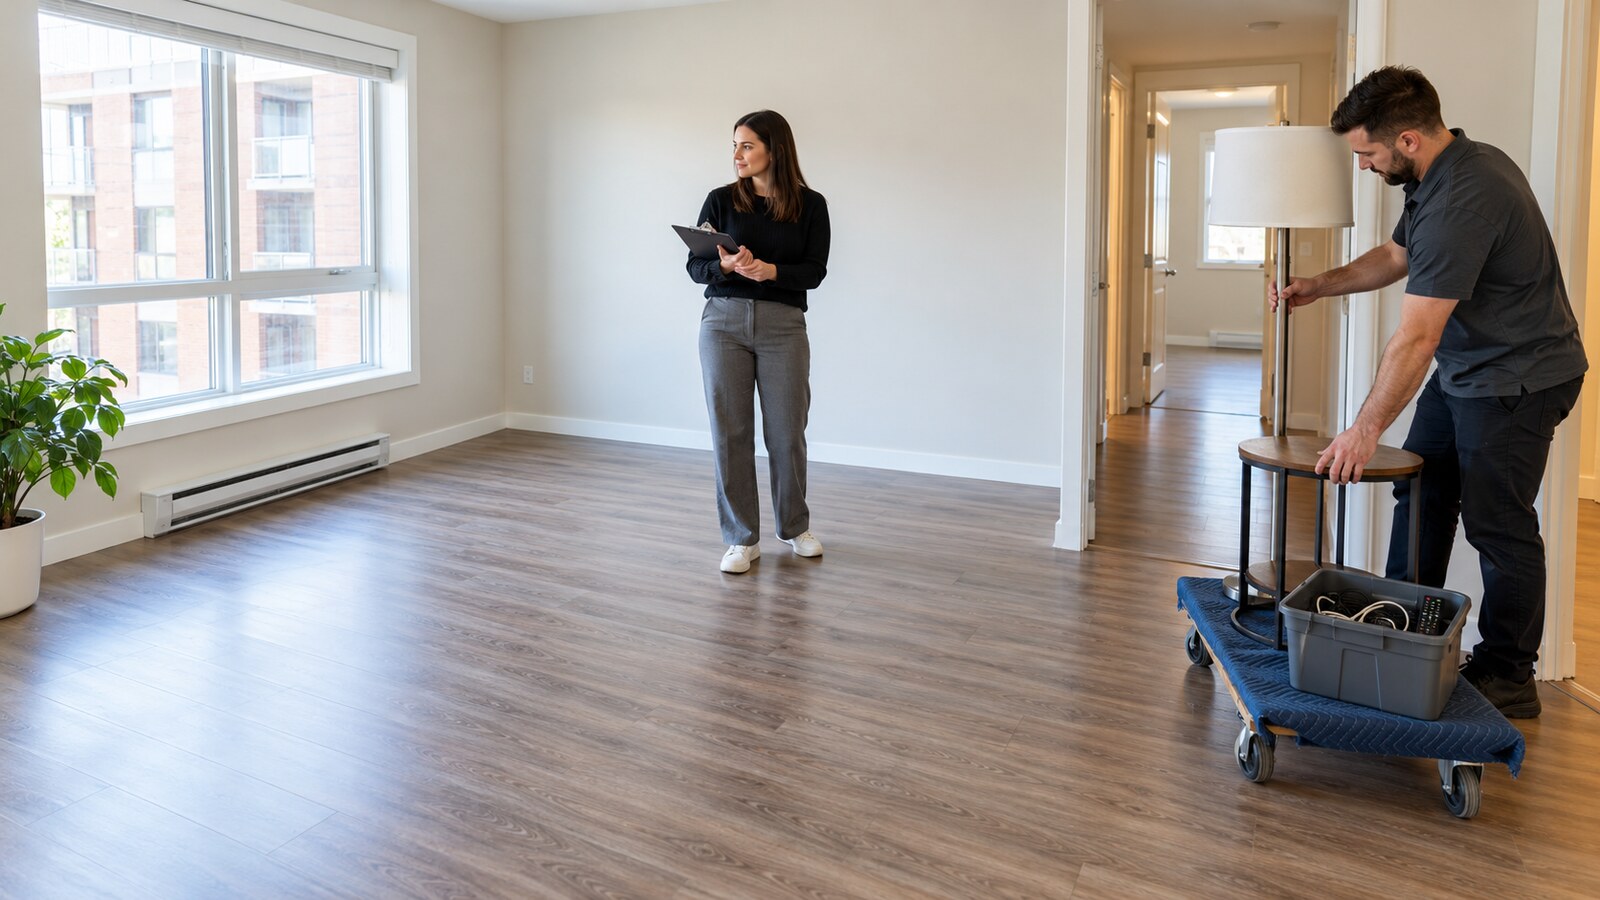
Plan the route from the living room to the unit door, elevator or exterior exit. Remove small trip hazards such as loose cords, rug edges and empty packaging before a larger item is handled. Keep hallways, stairs and fire routes open, and confirm any building requirements for elevator reservations, service entrances or loading areas.
Measure bulky furniture against doorways, hallway turns and elevator openings. Use protective pads and suitable moving equipment where appropriate. Do not drag furniture across flooring or force it through a tight turn. If an item is too heavy, unstable or awkward for the available people and route, stop and revise the plan rather than improvising a risky lift.
Group approved removal items separately
Keep approved ordinary removal items together so they are not confused with property inventory. Empty side tables, clean lamps, ordinary cables, worn cushions and small household décor may fit a confirmed non-hazardous scope. Electronics, batteries and lamps with bulbs should be identified rather than buried in a general pile because they may require a different handling route.
Do not open bags or containers with unknown contents during a routine turnover. Set aside leaking materials, chemicals, paint, sharps, pest-affected items or anything with an unusual odour. Clear condition information should be shared before the appointment so the provider can confirm what can be handled safely.
Clean the perimeter after furniture is moved
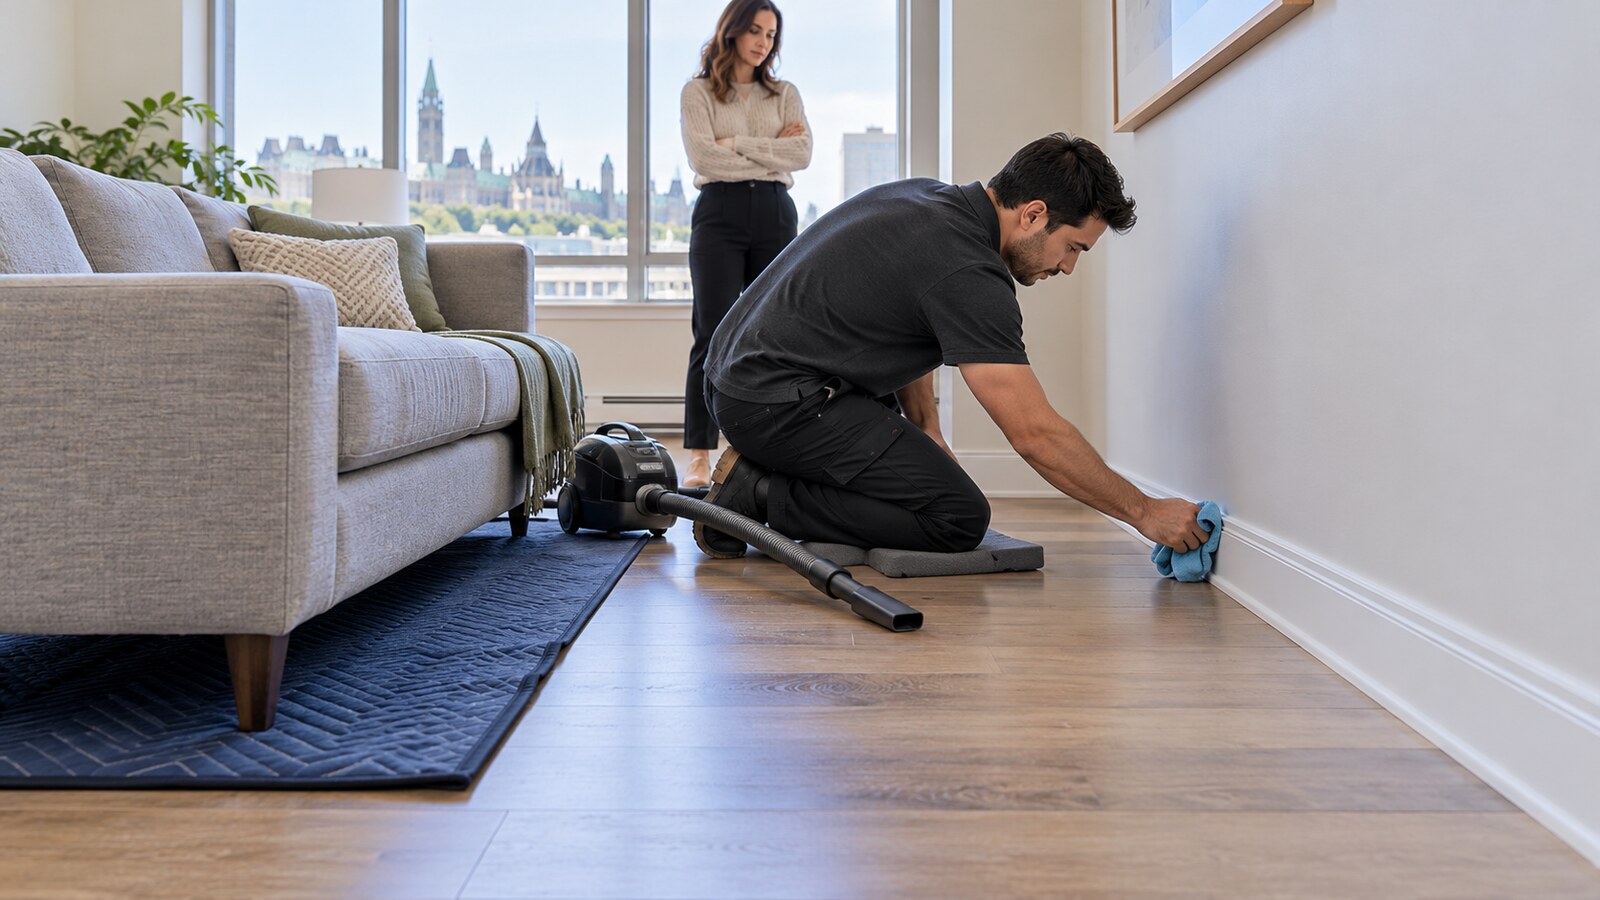
Once approved furniture is moved or protected, work around the room perimeter. Vacuum or dry-clean loose debris from floor edges, corners and the space behind furniture before wiping surfaces. Check baseboards for dust, ordinary marks and loose debris. Use a method suitable for the painted finish and flooring, and test any product in an inconspicuous area while following its label.
Avoid flooding baseboards, laminate seams or hardwood edges. Do not use a cleaning step to conceal swelling, separated flooring, damaged trim or persistent moisture. Photograph maintenance concerns and report them for assessment. Cleaning should make the room ready to inspect, not blur the line between clean-up and repair work.
Inspect walls without turning clean-up into repairs
Use natural light and then the room lighting to check walls from more than one angle. Note ordinary scuffs, picture hooks, anchors, dents and areas hidden by furniture. Remove dust and suitable light marks only within the agreed clean-up scope. Patchwork, paint matching, drywall repair and fixture removal should be treated as separate tasks with clear authorization.
Do not remove outlet covers, open electrical fixtures or disturb wall-mounted equipment unless that work is specifically assigned to a qualified person. If an outlet, switch, heater or vent appears damaged, photograph it and leave it accessible for follow-up. Keep cleaning liquids away from electrical components.
Handle windows, sills and coverings carefully
Dust accessible interior sills, tracks and curtain hardware without leaning outside or working at an unsafe height. Confirm whether blinds and curtains belong to the unit before removing them. Bent hardware, cracked glass, failed seals or damaged screens should be documented rather than forced, dismantled or disguised during cleaning.
Finish the floor according to its material
Identify the floor before choosing the final cleaning method. Laminate, vinyl, hardwood, tile and area rugs have different moisture and product limits. Remove loose debris first, then use the least aggressive suitable method and follow the flooring or product guidance available to the property manager. Avoid leaving a wet floor where contractors or inspectors need to walk.
Look across the floor in side light before replacing approved furniture. Record scratches, lifted seams, stains or soft areas as property-condition notes. Do not promise that routine cleaning will remove permanent marks, correct wear or repair damaged material.
Complete a final handoff check
Return only the furniture and property items that are meant to remain. Keep approved removal items together near the planned route without blocking the door. Collect remotes, keys and hardware in a clearly identified container for the property manager. Make sure vents, heaters, outlets, windows and balcony or patio doors remain accessible.
Photograph the finished room from the same viewpoints used at the start. A consistent set of images gives the property manager a useful handoff record without implying that cleaning resolved maintenance issues. Complete one doorway-to-window walk-through and one perimeter check before closing the room.
Rental living-room turnover checklist
- Confirm which furniture, coverings, electronics and accessories stay or leave.
- Photograph the room, walls, floor and window area before moving items.
- Clear the route to the unit door, elevator or exterior exit.
- Measure bulky furniture and use suitable protection and moving equipment.
- Separate approved ordinary removal items from property inventory.
- Keep hazardous, unknown or contaminated materials outside the routine scope.
- Clean floor edges and baseboards after furniture is safely moved.
- Document repairs, electrical concerns and damaged flooring instead of concealing them.
- Use a final floor method suited to the material and its moisture limits.
- Take consistent completion photos and leave all required access points clear.
Request a firm quote
For an accurate scope, send wide photos of the living room and closer views of furniture, floor edges and approved removal items. Include the Ottawa address, property type, stairs or elevator details, access instructions and handoff deadline. State what must remain, what is approved to leave and any known maintenance or contamination concerns.
Photos are illustrative examples of typical residential service results.