Listing Preparation
Ottawa Window, Sill and Track Clean-Up Before Listing Photos: A Practical Preparation Guide
A practical Ottawa guide to cleaning interior window sills, tracks and frames, then preparing nearby blinds, curtains and furniture before listing photos.
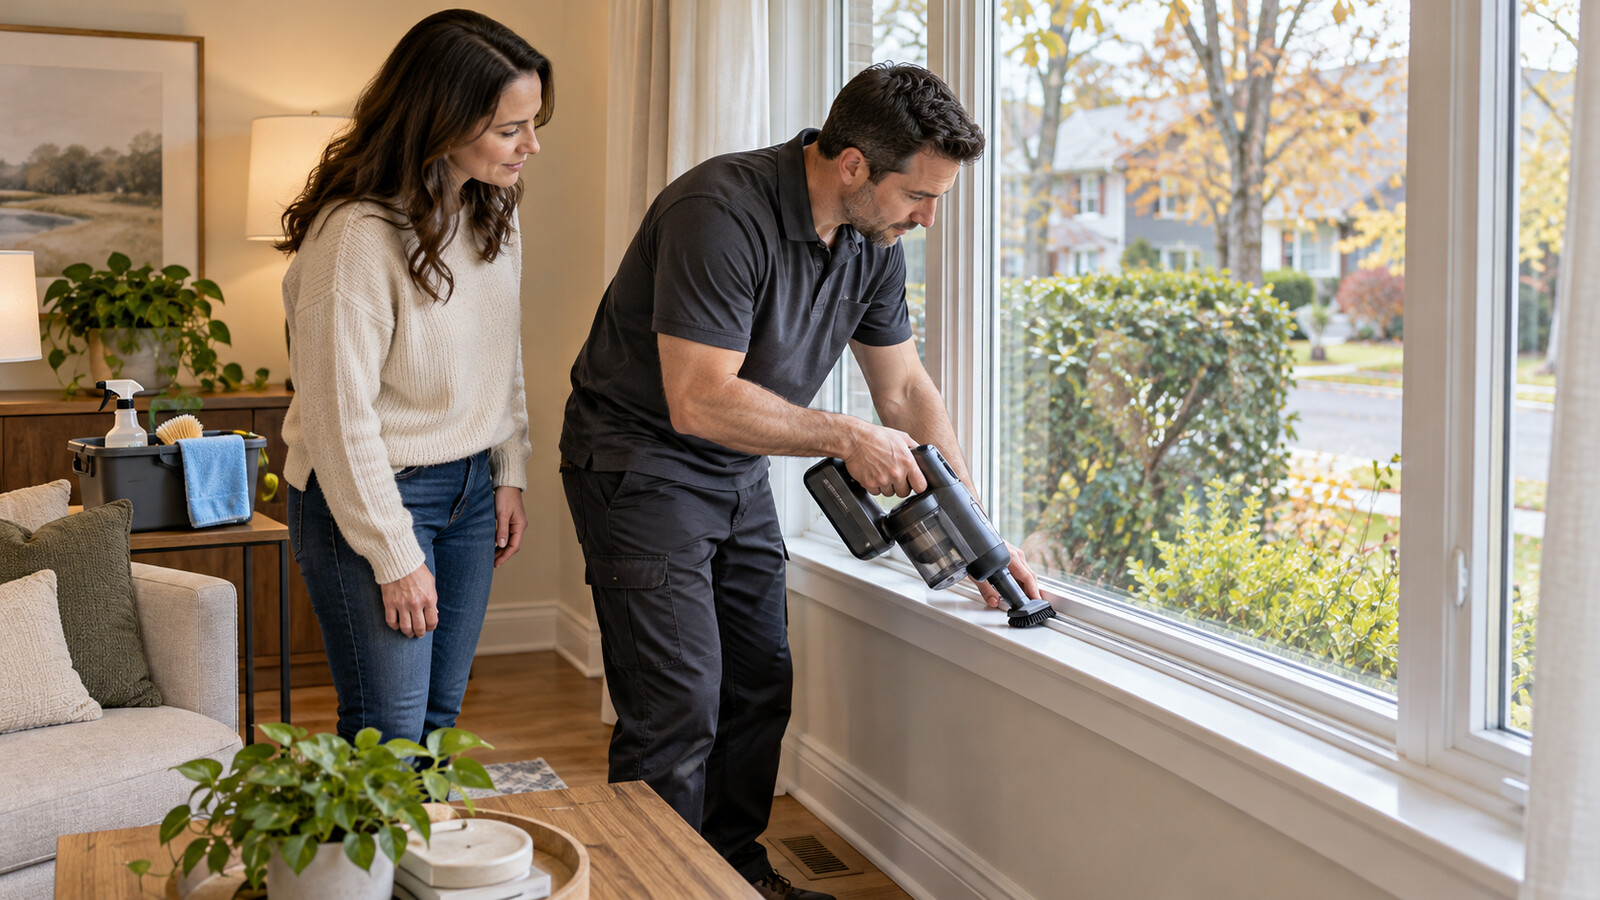
Clean windows help a room look brighter in listing photos, but the glass is only part of the picture. Dust in a track, marks along a sill, crooked blinds or a crowded ledge can still make an otherwise prepared room feel unfinished. For Ottawa sellers, real-estate agents and property managers, a useful window clean-up plan should address the visible edges of the opening as well as the furniture and decor around it.
The goal is not to disguise damage or turn routine cleaning into a repair project. It is to remove ordinary dust and residue, improve the sightline and identify anything that needs a separate repair decision before the photographer arrives.
Start with the photographer's likely sightlines
Walk through the home in daylight and look at each main room from the doorway, the far corner and the position where a photographer is likely to stand. Windows often become a bright focal point, so the surrounding frame, sill and coverings can be more noticeable in a photo than they seem during an ordinary walkthrough.
- Note windows that will appear behind a sofa, dining table or bed.
- Check whether curtains can open evenly without blocking the frame.
- Look for plants, cables, small decor or personal items crowding the sill.
- Identify rooms where furniture limits safe access to the window.
- Record cracked glass, failed seals, loose hardware or damaged paint as repair items, not cleaning tasks.
Confirm the window material before cleaning
Ottawa homes can have vinyl, painted wood, stained wood, metal or mixed window components. A product that is suitable for one surface may leave streaks, soften a finish or affect another. Check the frame and sill material, read the cleaner's label and test a small, inconspicuous spot when the finish is uncertain. Use only as much moisture as the task requires, especially around painted wood, joints and older trim.
Remove dry debris from tracks first
Dry cleaning before wiping keeps loose dust from becoming a muddy film. Open the window only if it operates normally and conditions are safe. Use a narrow vacuum attachment or soft brush to collect grit from track channels, sill corners and the area around the lock. Work slowly around weatherstripping so it is not pulled out of position.
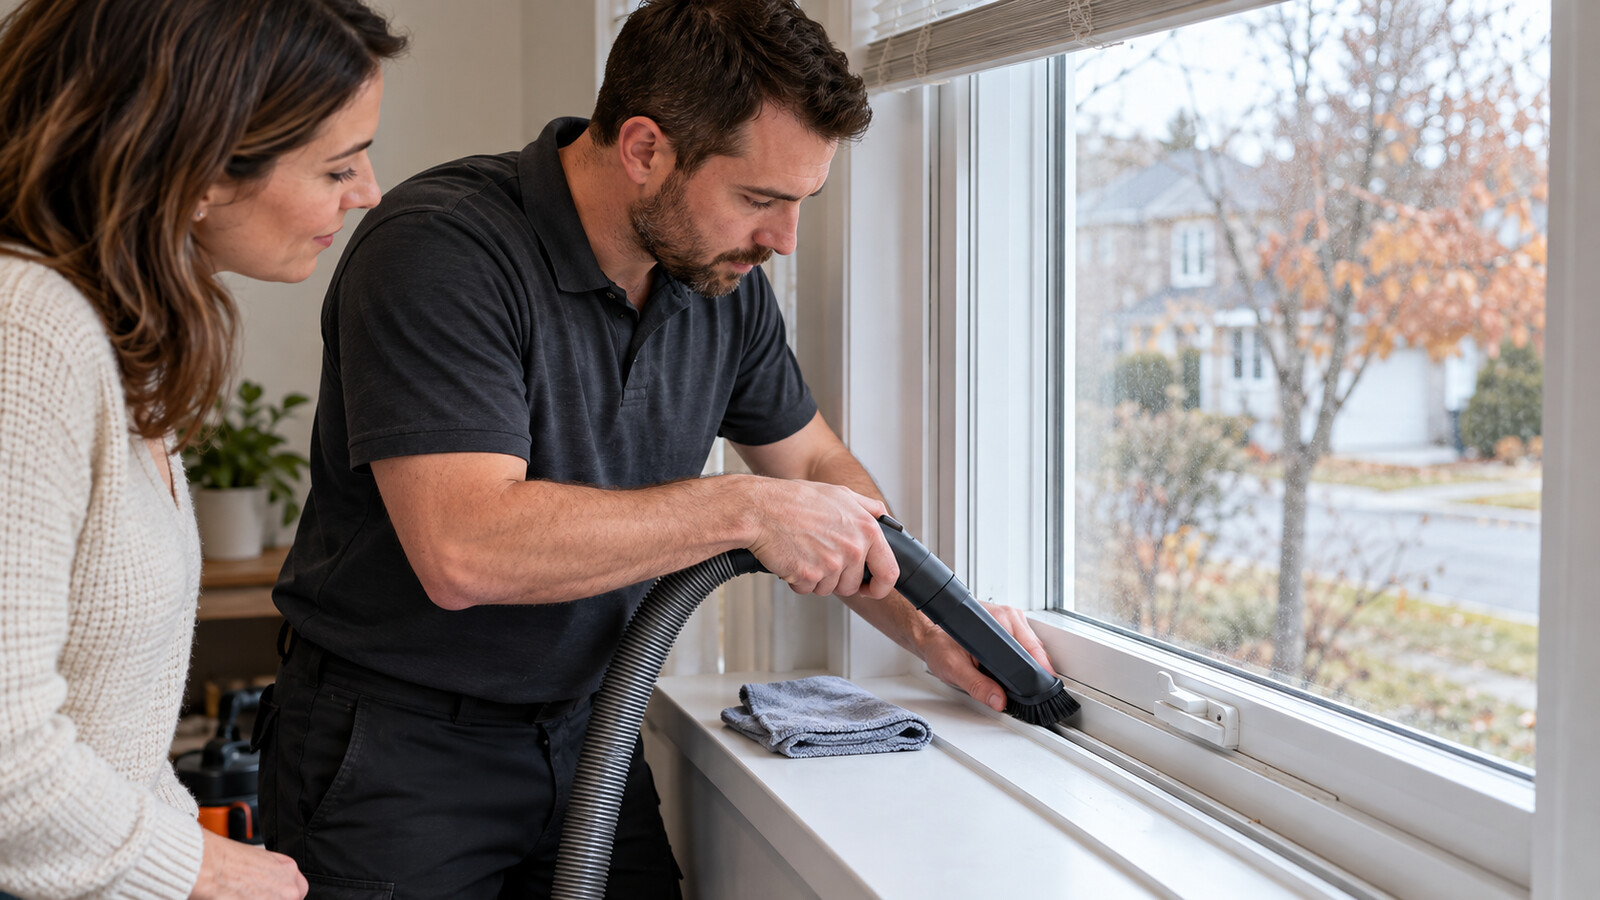
Once the loose material is gone, wipe the accessible track with a slightly damp cloth suited to the surface. A small soft brush can help with corners, but avoid sharp tools that can scratch vinyl, damage seals or push debris deeper into drainage openings. Finish with a dry cloth so water does not remain pooled in the channel.
Clean sills, frames and hardware as separate zones
Treat the horizontal sill, vertical frame and operating hardware as separate areas. On a painted sill, remove loose dust gently and avoid aggressive scrubbing that could expose a worn finish. On vinyl, use a non-abrasive cloth and a surface-appropriate cleaner. Wipe handles and locks without flooding moving parts, and confirm that everything returns to its original position.
Routine clean-up should not include forcing a stiff sash, removing fixed components or taking apart hardware. If a window does not open, close or lock normally, document it for the owner or listing agent. A clear repair note is more useful than risking damage immediately before photographs or showings.
Keep glass, screens and coverings within a defined scope
If glass cleaning is included, use a method appropriate for the pane and avoid leaving drips on the freshly cleaned sill. Accessible screens can collect dust along their frames, but bent mesh, brittle tabs or damaged screen frames should be noted rather than forced. Blinds can be dusted and aligned; curtains can be opened evenly and kept clear of the glass. High or difficult-to-reach windows require a separate access plan and should never be improvised with unstable furniture.
Do not clean over evidence of a building issue
Condensation marks, recurring water staining, soft trim, peeling paint or unusual growth may point to a ventilation, seal, moisture or material problem. Photograph and report the condition before ordinary cleaning. Listing preparation should not conceal an issue that needs inspection, repair or specialized remediation. The owner and agent can then decide what must be addressed and what should be disclosed or documented separately.
Prepare the space beside the window
A clean sill can still disappear behind an overfilled ledge or heavy furniture. After the window edges are finished, step back and simplify the nearby area. Move only items that can be handled safely, keep heating vents clear and avoid dragging furniture across floors. One healthy plant or simple object may work well, but the window should read as part of the room rather than as a storage shelf.
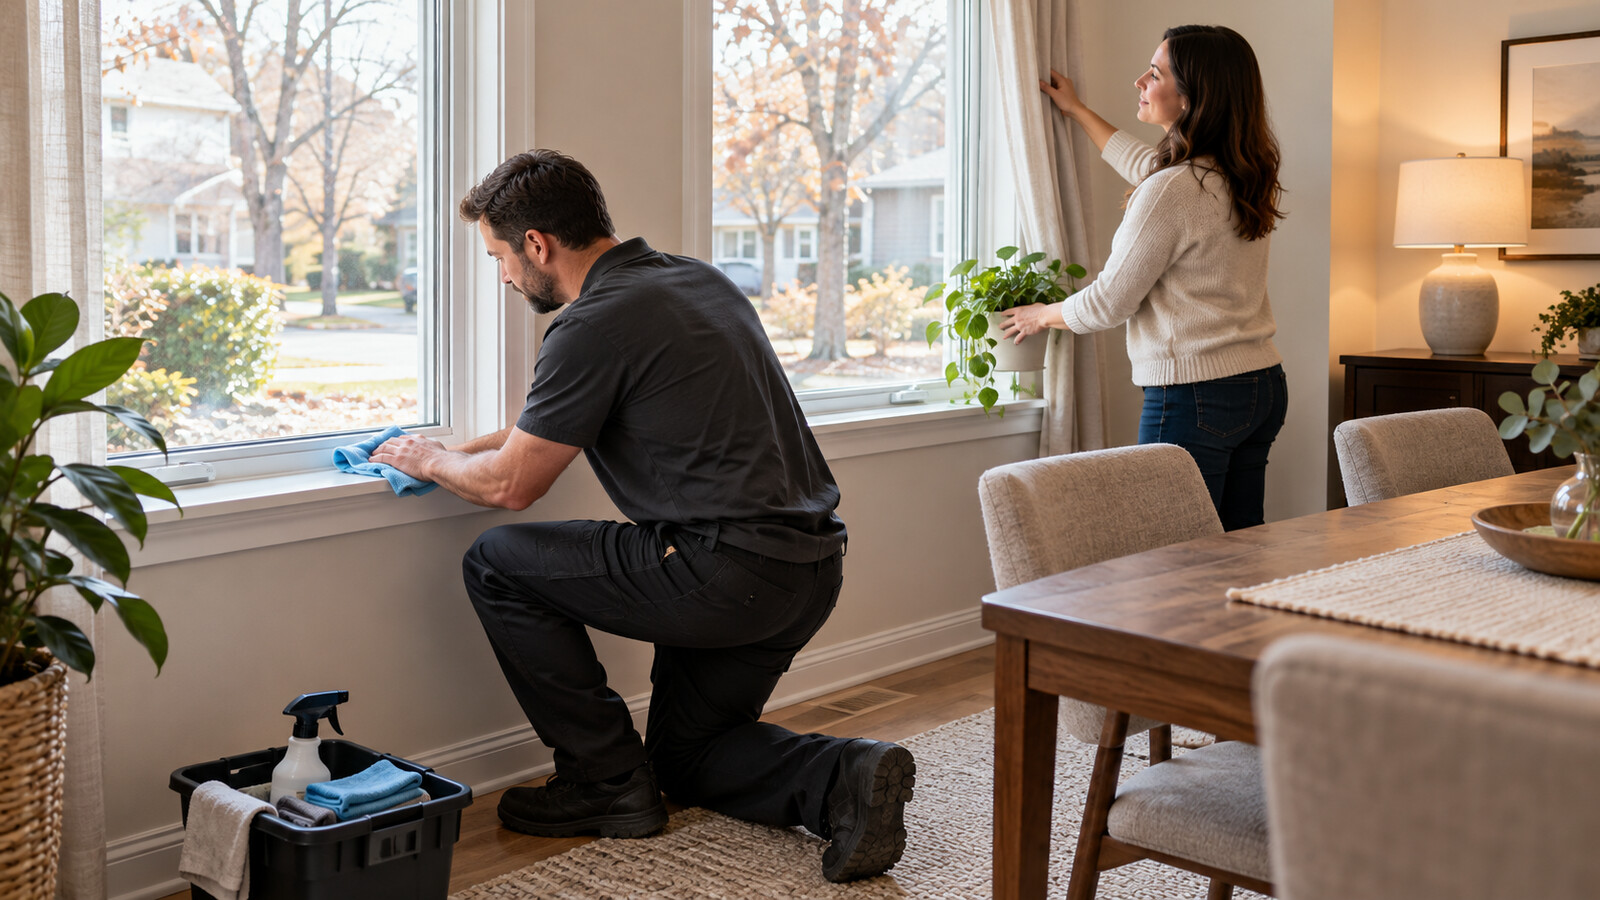
- Remove personal paperwork, pet items and loose cords from the sill area.
- Open matching curtains to a similar width when several windows share one wall.
- Raise blinds evenly and replace visibly broken slats only through an approved repair plan.
- Wipe the baseboard and floor edge below the window if dust has fallen during the work.
- Return furniture with enough clearance for a clean visual line and normal room use.
Use a room-by-room sequence
Work from the rooms most important to the listing toward secondary spaces. In many homes that means the living room, kitchen or dining area first, followed by the primary bedroom and other rooms. Finish each window completely before moving on: dry debris, tracks, sill, frame, accessible glass, coverings and nearby floor. This prevents half-finished areas and makes the final review easier.
Before the photographer arrives, repeat the daylight walkthrough. Check for streaks, lint, uneven blinds, displaced curtains and items that have returned to the sill. Confirm that any moved furniture is stable and that repair notes have reached the person responsible for the listing.
What to send for an Ottawa listing-preparation quote
Useful photos should show the full window, a close view of the sill and track, the surrounding furniture and any access constraint. Include the number of rooms, the approximate number of windows, known material types, whether accessible glass or coverings are in scope, and the date of the listing photos or first showing. Mention damaged finishes, stuck windows or moisture concerns so they can be separated from ordinary cleaning.
A focused window-edge clean-up is a small part of listing preparation, but it supports brighter photos and a more consistent room-by-room presentation. The best result comes from combining careful cleaning, simple staging and clear repair documentation before the schedule becomes tight.
Photos are illustrative examples of typical residential service results.